Introduction: The Importance of the Right Tool for Your Ring Doorbell
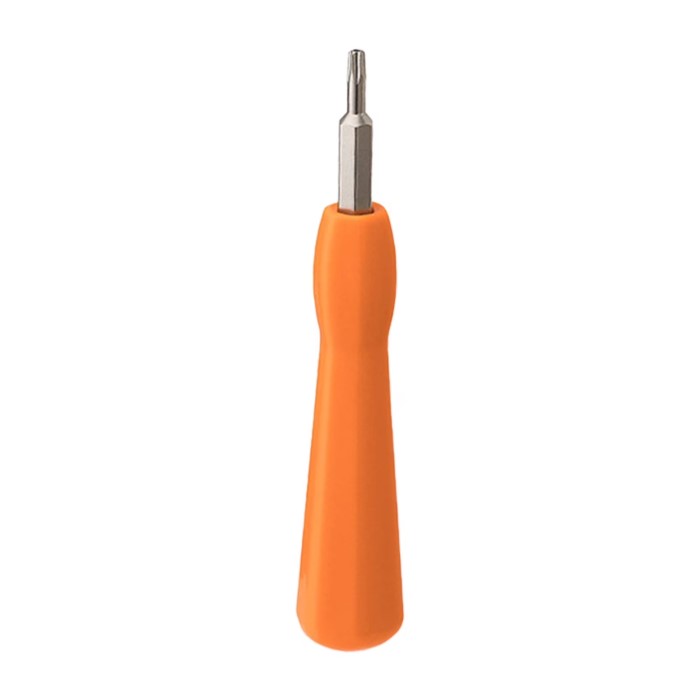
When installing a Ring doorbell, one of the critical components is having the correct screwdriver. A proper ring doorbell screwdriver not only speeds up the installation process but also ensures that the doorbell is securely mounted. Using the right tool prevents potential damage to the device or your home. In this guide, we will explore the types of screwdrivers suitable for installing a Ring doorbell, why they matter, and tips to help with your installation.
The goal is to provide you with the necessary information to maximize your installation process. A successful setup will enhance your home security and provide you with peace of mind knowing your device is installed correctly.
Understanding the Screwdriver Types for Ring Doorbells
Before you start the installation process, it’s vital to understand the different types of screwdrivers and which one suits your Ring doorbell. Here are the common types typically used:
- Phillips Head Screwdriver: Most Ring doorbells use Phillips screws, which means a Phillips head screwdriver usually needed. This screwdriver has a cross-shaped tip that fits snugly into the screw head, providing strong torque.
- Flathead Screwdriver: Some models might come with flathead screws. A flathead screwdriver has a straight, flat tip. Though less common for Ring installations, it’s good to have one available, just in case.
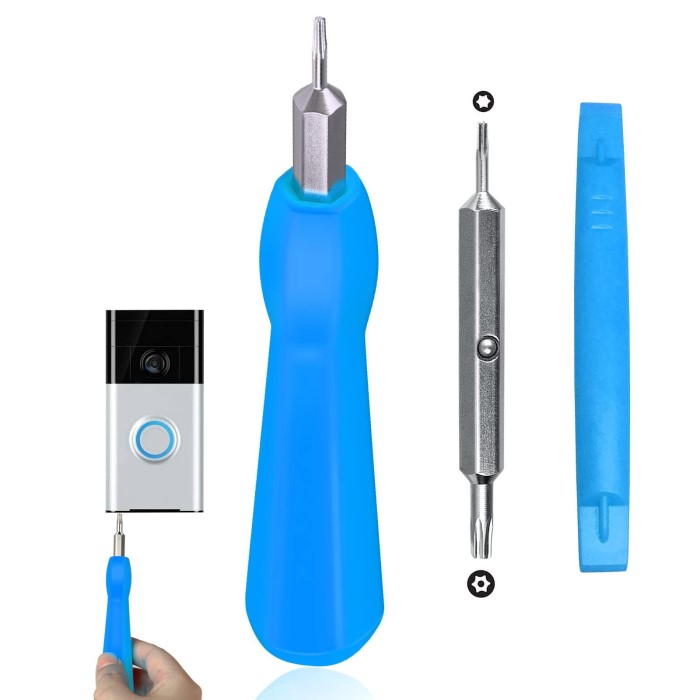
- Torx Screwdriver: Certain Ring models might utilize Torx screws, which have a star-shaped pattern. In these cases, a Torx screwdriver (often referred to as a security screwdriver) is necessary to avoid stripping the screws.
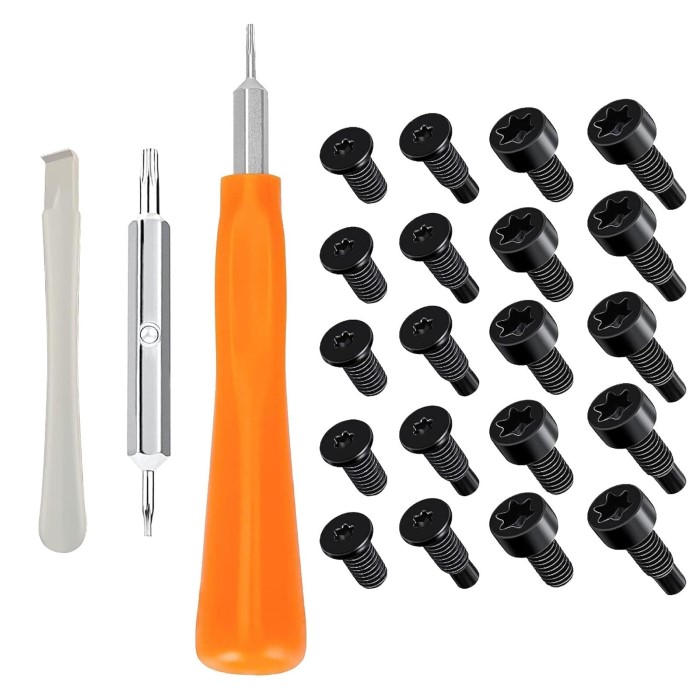
- Multi-bit Screwdriver: This versatile option can accommodate various types of screw heads. Using a multi-bit screwdriver ensures that you have the right size and type, regardless of the screw on your Ring doorbell.
- Power Drill with Screwdriver Bits: If you’re looking for efficiency, combining a power drill with the appropriate screwdriver bits can speed up the installation. However, care must be taken to avoid over-tightening.
Understanding these types will guide you in selecting the correct tool for your installation needs.
Why Choosing the Right Screwdriver Matters
Choosing the appropriate screwdriver for your Ring doorbell installation has several advantages:
- Prevents Damage: Using the correct screwdriver minimizes the risk of stripping the screws, which can make future removal almost impossible. Stripped screws can complicate the installation process.
- Enhances Installation Efficiency: With the right tool, the installation process becomes quicker and more efficient. You will spend less time searching for the proper tool and more time successfully installing the doorbell.
- Increases Safety: Properly secured doorbells are crucial for safety. An improperly installed doorbell may not function correctly, leading to malfunction and the potential risk of falling.
- Ensures Smooth Operation: A well-installed doorbell will operate as intended. The right screwdriver helps ensure that connections are secure, so you won’t experience connection issues post-installation.
- Improves Overall User Experience: Having the right tools creates a smoother experience from beginning to end, leading to higher satisfaction with your security setup.
By taking the time to select the correct screwdriver, you invest in the quality and safety of your installation.
Steps for Installing Your Ring Doorbell
Now that you understand the screwdrivers available, here are the steps for a successful installation of your Ring doorbell:
- Gather Required Tools: Collect your chosen screwdriver, a drill if desired, the Ring doorbell unit, and any mounting brackets included in the package. Having everything ready in one space simplifies the process.
- Power Off Existing Doorbell: If you’re replacing an existing doorbell, turn off the power to avoid electrical shocks. Locate the breaker box and switch off the corresponding circuit.
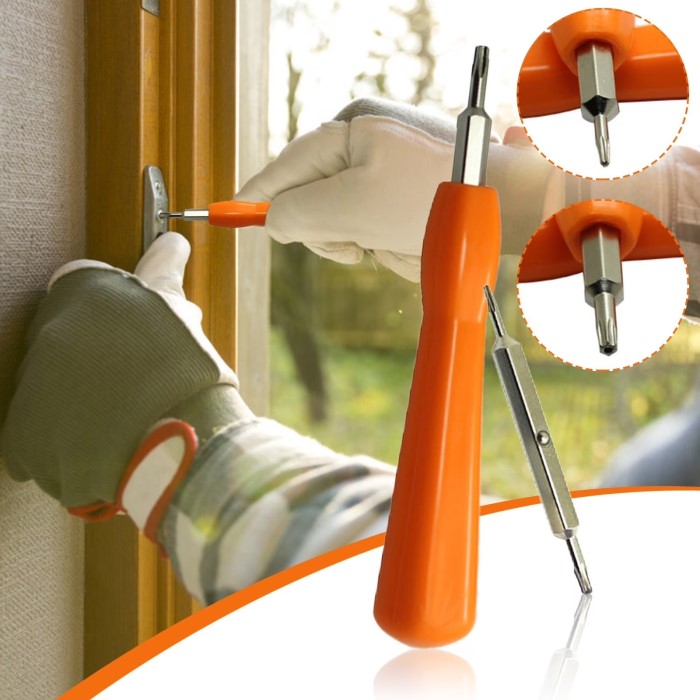
- Remove the Old Doorbell: Use the appropriate screwdriver to loosen the mounting screws of the old doorbell. Safely remove it from the wall, being cautious of any attached wires.
- Connect the Wiring: If applicable, connect the power wires to your Ring doorbell according to the instructions provided. Be sure the connections are secure. This step is unnecessary for battery-operated models.
- Mount the Ring Doorbell: Align the doorbell with the mounting bracket and secure it using the appropriate screwdriver. Ensure that the doorbell is level and securely tightened.
- Restore Power: Once the doorbell securely mounted, restore power at the circuit breaker.
- Test the Device: After installing, test the doorbell to confirm it’s functioning correctly. Check the connectivity with the app and ensure notifications are working.
Common Issues During Installation and How to Solve Them
Even with the right tools, you may encounter issues during the installation of your Ring doorbell. Here are some common problems and their solutions:
Screw Stripping
- Identifying Stripped Screws: If you notice that the screws on your Ring doorbell becoming stripped, it means the head of the screw damaged and losing grip. You might find that the screwdriver no longer fits securely, which can prevent you from tightening or loosening the screw effectively.
- Stop Immediately: Once you realize that a screw is stripped, stop trying to turn it further. Continuing to attempt to screw it in or remove it could exacerbate the problem, making it even more difficult to handle.
- Using a Rubber Band: A quick fix for a stripped screw is to place a rubber band over the screw head before trying to turn it again. The rubber band provides additional grip and can help the screwdriver catch on the screw more effectively.
Power Issues
- Checking Power Supply: If your Ring doorbell does not power on, the first step is to check the power supply. Ensure that all connections are secure and that the device is wired correctly if applicable.
- Circuit Breaker Verification: Sometimes, the issue may stem from the circuit breaker. Make sure that the circuit controlling power to your Ring doorbell has not tripped. If it has, reset it by switching it back to the ‘on’ position.
- Inspect Wiring Connections: If you’re using a hardwired connection, take the time to double-check the wiring. Loose or disconnected wires can prevent the doorbell from receiving power. Tighten any loose connections and verify that the wires securely attached.
- Testing Battery (If Applicable): For battery-operated models, check the battery level. If the battery depleted, replace it with a fully charged one to restore functionality.
Connectivity Problems
- Identifying Connectivity Issues: If your Ring doorbell is having trouble connecting to Wi-Fi, the first thing to check is whether it is within range of your router. A weak signal can lead to connection problems, affecting the doorbell’s performance.
- Reassess Placement: Consider the placement of your Ring doorbell. If it’s located too far from the router or blocked by walls or large objects, signal strength may be affected. Relocating it to a more optimal position can improve connection quality.
- Using a Wi-Fi Extender: If relocating the doorbell is not feasible, you might want to consider investing in a Wi-Fi extender. This device helps amplify the Wi-Fi signal, extending the coverage area and improving connectivity for devices further away from the router.
- Testing Wi-Fi Signal Strength: Using your smartphone or a computer, check the signal strength where the Ring doorbell is mounted. A weak signal should prompt you to take action to enhance connectivity.
App Configuration Issues
- Following Installation Prompts: If you encounter difficulties while setting up the Ring app, carefully check that you are following the installation prompts step by step. Missing a prompt can lead to configuration errors.
- Internet Connection Check: Ensure your smartphone has a stable internet connection during the setup. This is crucial for downloading any necessary updates or syncing with the Ring doorbell.
- Uninstalling and Reinstalling the App: Sometimes, configuration issues can persist due to a glitch in the app itself. Uninstalling and then reinstalling the Ring app can often solve these problems by refreshing the installation and ensuring you have the latest version.
- Consulting the Help Section: If problems continue, the Ring support section within the app or the company website can offer troubleshooting guides to help resolve specific configuration issues effectively.
FAQs on Ring Doorbell Screwdriver Usage
What kind of screwdriver do I need to remove a Ring doorbell?
Typically, a Phillips head screwdriver is required to remove a Ring doorbell. Depending on your specific model, a flathead or Torx screwdriver may also be necessary.
What can I use instead of a Ring doorbell screwdriver?
If you don’t have the specified screwdriver, you can often use a multi-bit screwdriver that accommodates Phillips, flathead, and Torx sizes. Ensure the head fits snugly to avoid damaging the screws.
What to do if you lose a Ring doorbell screwdriver?
If you lose the specific screwdriver, check your toolbox for compatible alternatives. You may also consider purchasing a replacement directly from Ring or seeking a compatible option at a hardware store.
Conclusion
In conclusion, understanding the importance of choosing the right ring doorbell screwdriver can significantly enhance your installation experience. By grasping the different types of screwdrivers, realizing the importance of proper tools, and addressing common installation issues, you can ensure a smooth process from start to finish.
This comprehensive guide has equipped you with the necessary knowledge to make informed decisions when installing your Ring doorbell. Remember, the right tools and practices contribute to effective security solutions in your home. So, whether you’re a first-time installer or someone looking to replace your existing doorbell, follow these guidelines to maximize your installation success. Enjoy the benefits of added security and convenience that your new Ring doorbell brings!