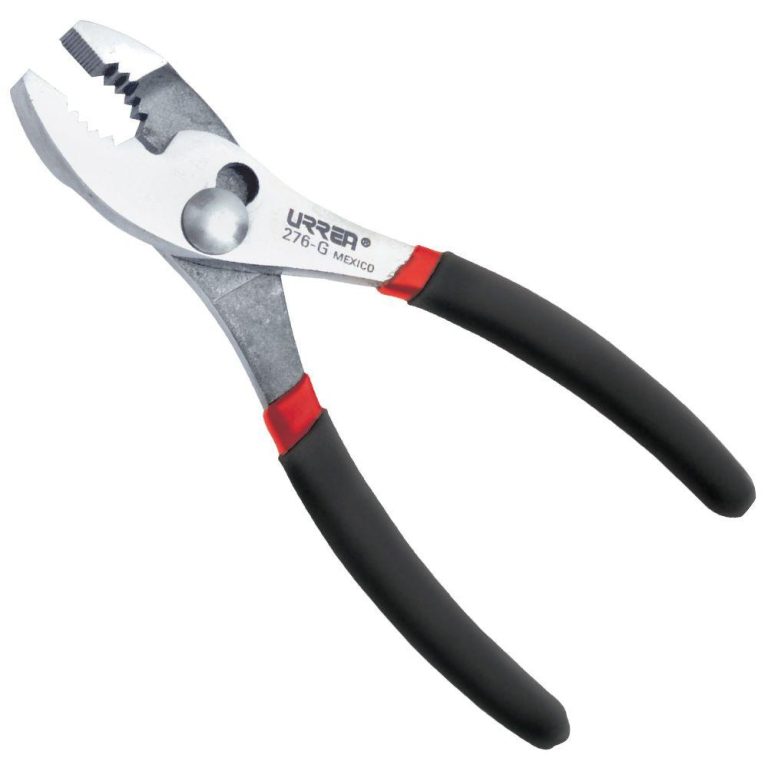
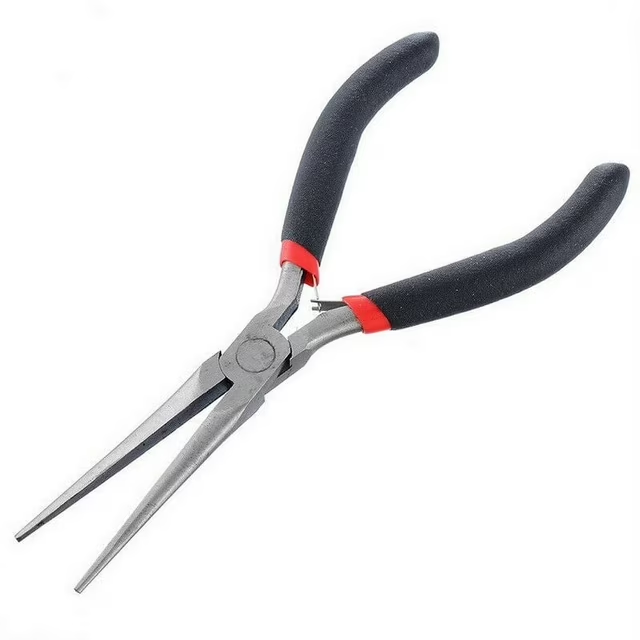
Introduction to Crimping Pliers
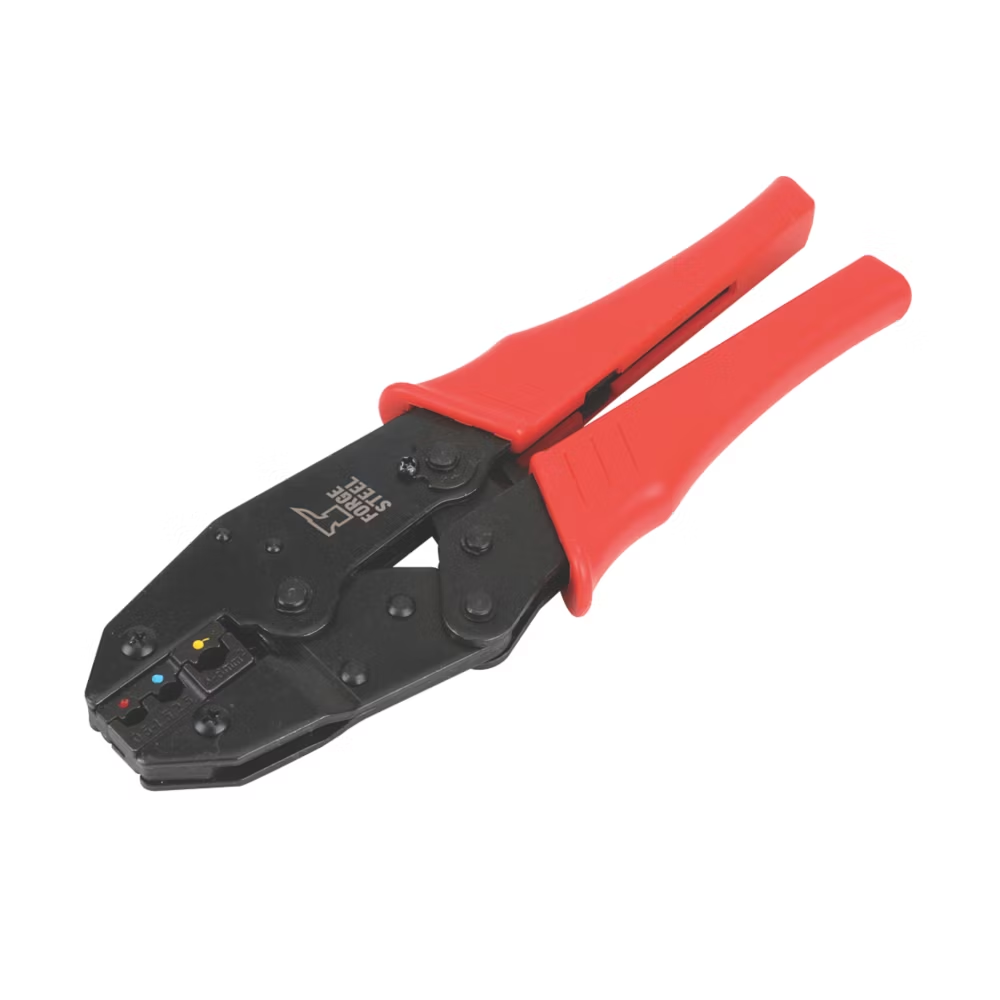
Crimping pliers are a staple in any toolkit. They join two pieces of metal or other material by deforming one or both of them. This process ensures a tight and secure connection, vital in electrical and networking projects. The function and design of crimping pliers may vary depending on the task at hand, but the primary purpose remains to create a strong bond between components without the need for soldering or welding.
When selecting crimping pliers, consider the type of crimp you need. There are many designs available. Some are for Ethernet cables, others for electrical terminals. The right tool will make the job easier and improve the quality of your work. In essence, understanding the basics of crimping pliers is the first step in mastering their use. With proper knowledge and technique, you can achieve professional results every time. It is important to get familiar with the various types of crimping pliers to select the perfect one for your project.
Selecting the Right Crimping Pliers for Your Project
Choosing the right crimping pliers is crucial for your project’s success. Here are some points to help you make the best choice:
- Identify Your Project Needs: Determine the type and size of the materials you will be crimping.
- Understand Crimp Profiles: Different projects require different crimp profiles, such as barrel, open barrel, or flag.
- Check for Compatibility: Ensure the crimping pliers are compatible with the connectors and terminals you will use.
- Comfort and Ergonomics: Select a tool that fits comfortably in your hand for extended use without fatigue.
- Quality and Durability: Invest in a tool that is durable and made from quality materials to avoid frequent replacements.
- Additional Features: Look for features like ratcheting mechanisms, which ensure a complete crimp cycle before the tool opens.
Remember to factor in the frequency of use and the environment where the crimping pliers will be used. A one-time project may not require as heavy-duty a tool as regular, professional work. Be thorough in your research and consider seeking advice from experts or more experienced users. The right crimping pliers will not only make your task easier but will also ensure a more reliable final product.

Essential Features of Quality Crimping Pliers
When shopping for crimping pliers, consider several features that determine their quality and suitability for your tasks. Here is a list to guide you:
- Material and Construction: Look for high-grade steel or metal alloys. These materials ensure strength and longevity.
- Precision Jaws: Quality crimping pliers have precisely machined jaws. They secure connectors evenly without damaging them.
- Ratcheting Mechanism: A ratchet feature allows for consistent crimps. It prevents the pliers from opening before the crimp is complete.
- Adjustability: Some pliers offer adjustable tension. This feature helps to manage different connector sizes.
- Ergonomic Design: A comfortable grip eases hand strain. Look for handles that fit well in your palm.
- Crimping Pressure: Ensure the tool delivers adequate pressure. It should not require excessive force to crimp.
- Tool Calibration: For precision tasks, calibrated tools are essential. They provide accurate crimps every time.
- Crimp Consistency: Good crimping pliers produce consistent results. This reliability is crucial for professional work.
By focusing on these essential features, you will find crimping pliers that are reliable and easy to use. They will serve you well whether you are handling a small DIY project or large-scale installations.
Step-by-Step Guide to Using Crimping Pliers
Using crimping pliers can seem daunting at first. Follow this simple step-by-step guide to ensure a perfect crimp every time:
- Prepare the Wire: Strip the wire to the correct length. Make sure no strands are damaged.
- Select the Correct Connector: Choose a connector that fits the wire gauge. Check the compatibility.
- Insert the Connector: Place the stripped wire into the connector. Ensure it goes all the way in.
- Position the Crimping Pliers: Open the pliers and position them over the connector. Use the correct crimp slot.
- Crimping Action: Squeeze the handles with firm pressure. Do this until the ratcheting mechanism releases.
- Inspect the Crimp: Look at the connection. It should be tight and free of gaps or deformities.
- Test the Connection: Pull gently on the wire. It should stay secure in the connector.
Remember to apply even pressure and confirm that your crimping pliers match your project’s specifications. Using quality crimping pliers, following the guide, and practicing will guarantee successful crimps every project.

Common Mistakes to Avoid When Using Crimping Pliers
As with any tool, using crimping pliers correctly is essential for perfect outcomes. However, common mistakes can lead to poor connections and potential project failures. Here are some key errors to watch for when using crimping pliers:
- Not Using the Correct Crimp Slot: Different wire sizes and connectors need different crimp slots. Using the wrong slot could damage the connector or wire.
- Overcrimping: Applying too much force can deform the connector excessively. This can weaken or even break the connection.
- Undercrimping: Not applying enough force leads to a loose crimp. This can cause a poor electrical connection or a wire to slip out.
- Neglecting the Ratcheting Mechanism: The ratcheting mechanism helps ensure a full crimp cycle. Not using it properly could result in a weak crimp.
- Ignoring Wire Prep: Failing to properly strip and inspect the wire before crimping can lead to bad connections. Damaged strands could signal a compromised crimp.
- Mixing Terminal and Connector Types: Terminals and connectors come in various types and sizes. Mixing them up can cause improper fits and crimps.
- Using Damaged Pliers: Worn or damaged crimping pliers won’t provide the right pressure or alignment. Regularly inspect your pliers for damage.
To prevent these mistakes, always select the correct crimping pliers and matching connectors for your project. Practice crimping before starting your project, and perform a pull test on your crimps to ensure they’re secure. Remember, attention to detail will lead to a reliable, professional-quality connection every time.
Maintenance and Care for Crimping Pliers
To keep crimping pliers in top condition, follow these maintenance and care tips:
- Clean Regularly: Wipe the pliers after each use. Remove any dirt or debris.
- Inspect for Wear: Check jaws and ratchet mechanism for wear or damage. Replace if needed.
- Lubricate Joints: Apply a drop of oil to the pivot joint to keep action smooth.
- Store Properly: Keep your pliers in a dry place. Avoid exposure to moisture.
- Avoid Overloading: Use pliers within their capacity. Overloading can damage them.
- Handle with Care: Drop them can misalign the jaws, affecting their performance.
- Check Calibration: Regularly check that the pliers calibrate correctly for accurate crimps.
- Use Correctly: Following proper crimping techniques extends the life of your pliers.
By caring for your crimping pliers, you ensure their longevity and reliability. Regular maintenance avoids unnecessary replacements and ensures every crimp is perfect. Put these tips into practice to achieve professional results in all your projects.
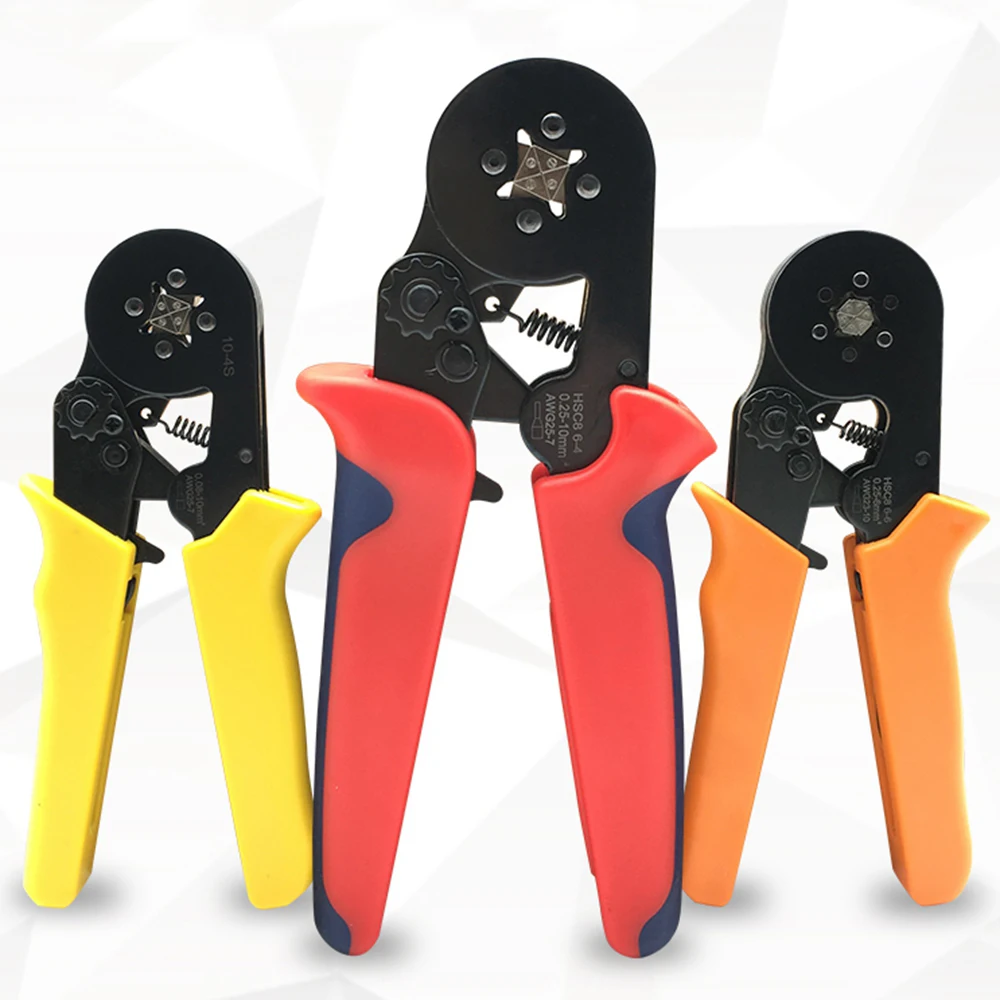
Advanced Techniques and Tips for Professional Crimping
To take your crimping skills to the next level, apply these professional techniques and tips:
- Master the Art of Wire Preparation: Before crimping, ensure your wire is stripped evenly. Use wire strippers for a precise cut that doesn’t damage strands.
- Crimp in Stages: For thicker wires or larger connectors, crimp in multiple small steps. This prevents uneven pressure and ensures a secure crimp.
- Inspect with a Gauge Tool: After crimping, use a gauge tool to check the crimp. This verifies that it meets the necessary standards.
- Adjust Tension as Needed: Find crimping plier with tension adjustments. Alter the tension based on wire size for optimal crimping without damaging the connector.
- Opt for Incremental Adjustments: With adjustable pliers, make small tension changes. Test each adjustment to find the perfect setting for your materials.
- Use the Right Angle: Position crimping plier squarely on the connector. This ensures even force distribution.
- Practice Consistency: Achieve uniform crimps by developing a consistent technique. This is crucial for projects with many connections.
By implementing these advanced tips, you’ll improve your crimp quality significantly. Additionally, always invest time in practicing with your crimping pliers. The more you practice, the more natural the process becomes. Remember, practice makes perfect!
Conclusion: Enhancing Your Skills with the Right Tools
To wrap up, crimping pliers are vital for creating sturdy, dependable connections. Choosing the right pair is the first step towards a successful project. Remember the key points we discussed:
- Pick crimping pliers that match your project’s needs.
- Look for quality features such as material, precision, and ergonomic design.
- Follow a step-by-step guide for consistent crimps.
- Avoid common mistakes like using the wrong crimp slot or crimp pressure.
- Keep your crimping plier well maintained to ensure long-term use.
By mastering these tips and techniques, you boost your skills significantly. Quality tools and the right knowledge lead to professional results. Whether you’re new to using crimping plier or seeking to refine your technique, the insights shared here will serve you well.
Embrace practice as a part of your journey. The more you crimp, the better your skills become. Regular use reinforces the correct methods and helps you avoid potential pitfalls. Always keep learning, and don’t hesitate to share your experiences with others. Combining the right tools with dedication to your craft ensures excellence in every crimp you make.
