Introduction: The Importance of Clean Windows
The Aesthetics and Functionality of Clean Windows
Window cleaning tools are essential for maintaining the aesthetic appeal of your home or office. They allow natural light to flood into your spaces, providing a warm, inviting atmosphere. Furthermore, transparent and spotless windows enhance curb appeal, making your building look well-cared for and welcoming. However, over time, windows accumulate dust, dirt, and grime, which can obstruct your view and diminish the beauty of your property.
The Health Factor
Beyond aesthetics, window cleaning tools also play a role in your health. Accumulated dust and dirt can harbor allergens and pollutants, impacting indoor air quality. Regular cleaning helps to reduce these irritants, creating a healthier living or working environment. Consequently, investing time and effort into window cleaning can yield both visual and health benefits.
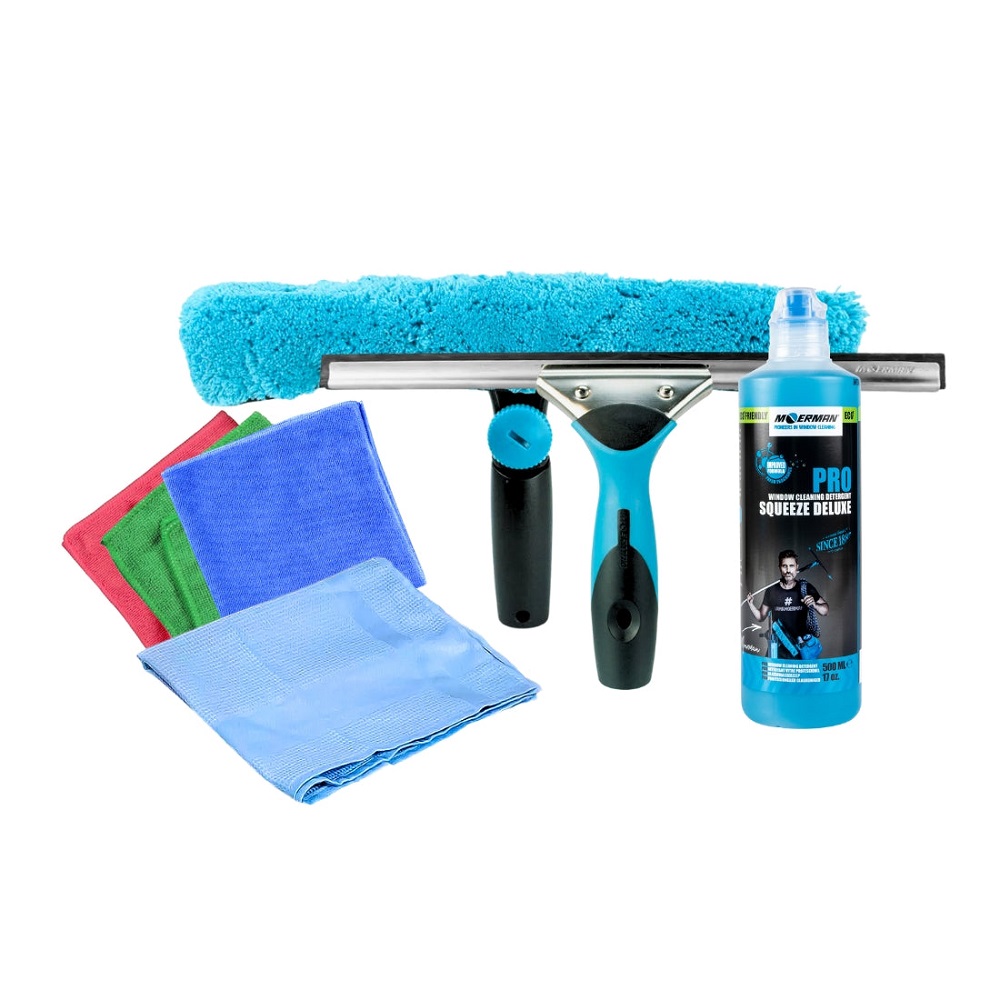
Essential Window Cleaning Tools
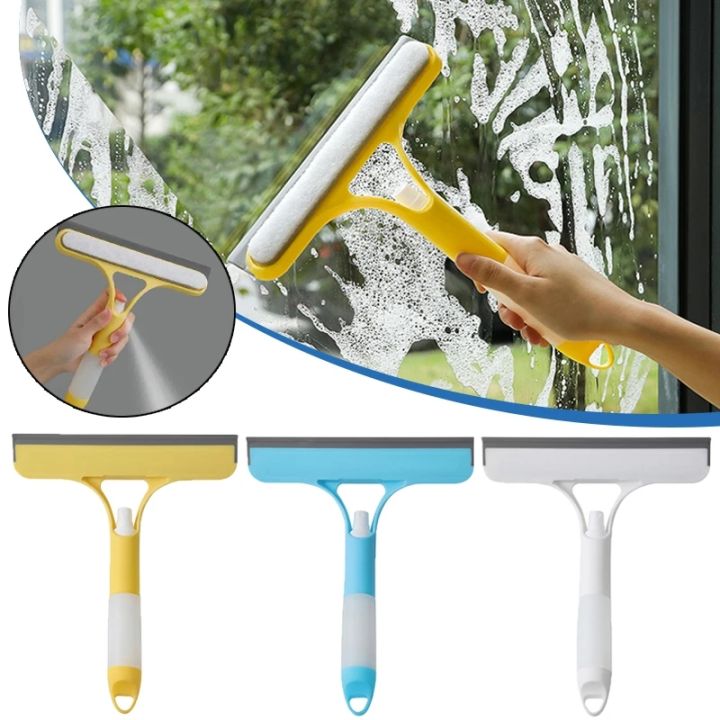
1. Squeegee
A Fundamental Tool
The squeegee is perhaps the most iconic and essential window cleaning tools for effectively cleaning windows. Its simple design allows for rapid removal of water and cleaning solution, leaving a streak-free finish.
- Material and Size: Choose a squeegee with a quality rubber blade to ensure a smooth glide across the glass. Sizes vary, so select one that fits your window size; larger squeegees work well for expansive panes, while smaller ones are ideal for tight corners.
- Technique: To use a squeegee effectively, start from the top of the window and drag it down in a straight line. Wipe the blade with a cloth after each pass to prevent streaks.
2. Window Cleaning Solution
Formulas for Success
A good window cleaning solution is crucial for achieving sparkling results. You can opt for commercial products or make your own, ensuring that you avoid streaks and smudges.
- Commercial Cleaners: Many store-bought cleaners contain helpful surfactants that cut through grease and grime. Look for a solution labeled as streak-free for best results.
- DIY Solution: For a budget-friendly alternative, mix equal parts water and white vinegar in a spray bottle. You can also add a few drops of dish soap for added cleaning power.
3. Microfiber Cloths
The Perfect Companion
Microfiber cloths are fantastic for cleaning windows due to their lint-free nature and ability to capture dirt and grime without scratching the glass.
- Choosing the Right Cloth: Look for high-quality microfiber cloths that are specifically advertised for glass cleaning. They’re highly absorbent and can be washed and reused many times.
- Cleaning Technique: Dampen the cloth slightly with your cleaning solution before wiping the window surface. Use a circular motion to remove dirt, followed by a straight motion to avoid leaving streaks.
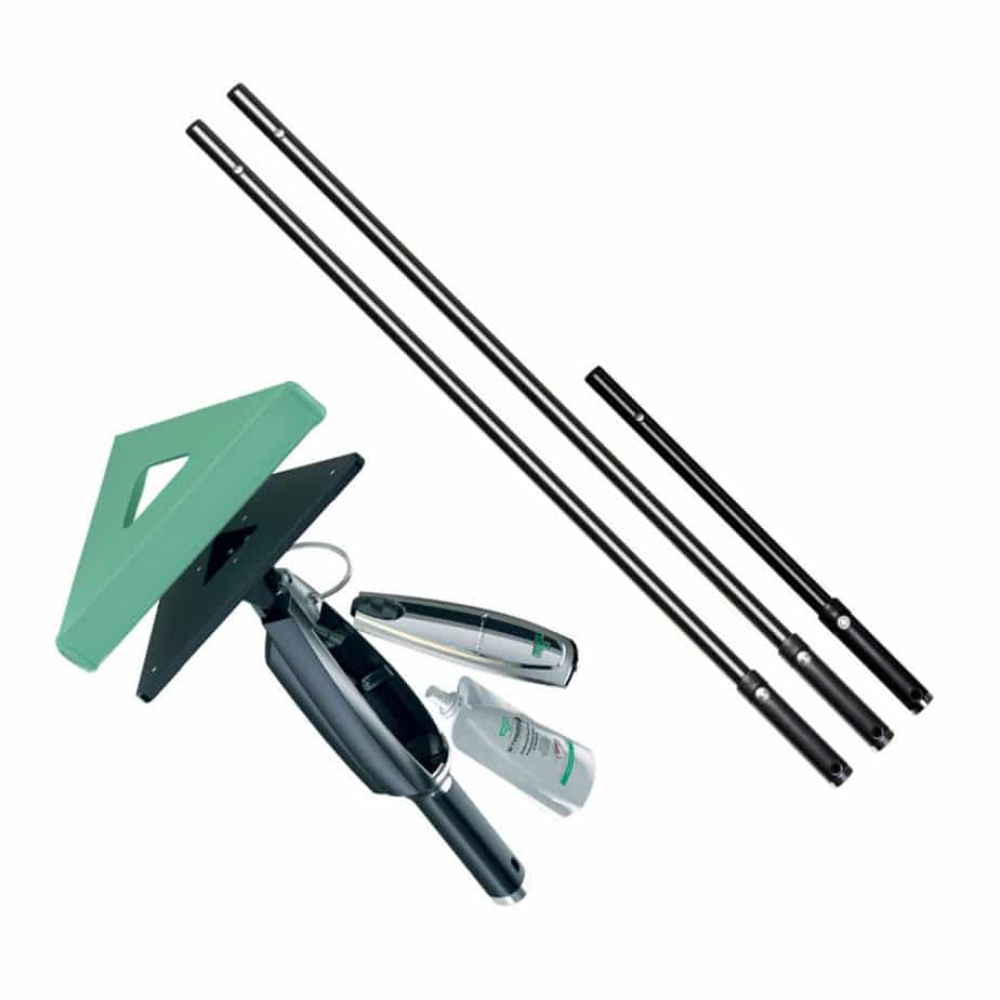
4. Extension Poles
Reaching New Heights
For multi-story buildings or high windows, extension poles become invaluable tools. These poles allow you to reach elevated areas without needing a ladder, ensuring safety and convenience.
- Adjustable Lengths: Consider purchasing a sturdy, adjustable extension pole that can be extended based on your cleaning needs. Many poles include attachments for squeegees, making it easier to switch between tools while up high.
- Safety Considerations: Always maintain a stable stance when reaching; avoid overextending yourself, which could lead to accidents.
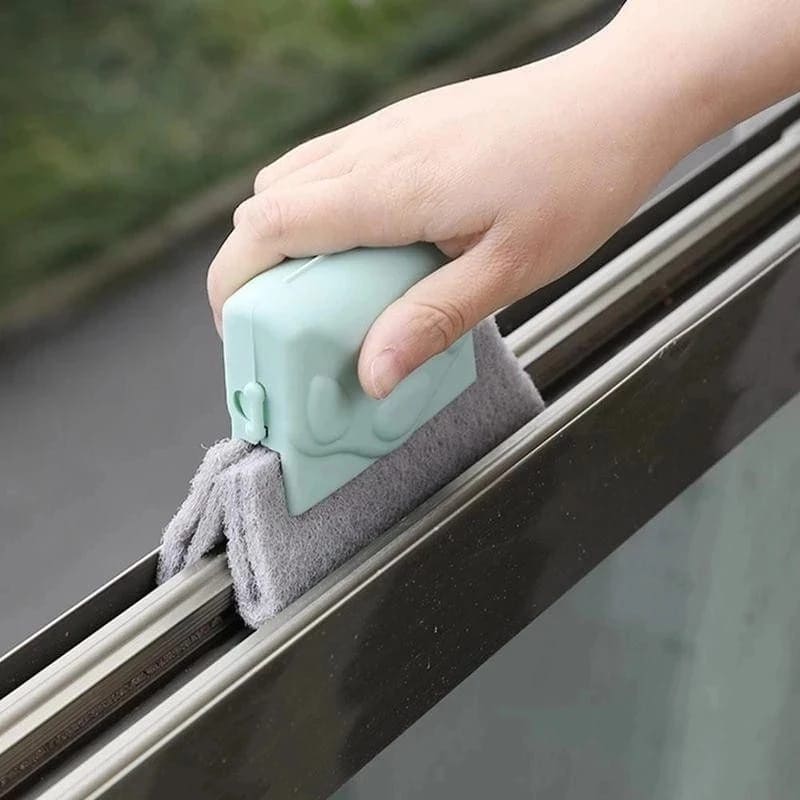
5. Scrubbers and Brushes
Pre-Treatment for Tough Stains
In cases where dirt and grime have accumulated, a window scrubber or brush can be beneficial to pre-treat the glass.
- Scrubber Choices: Choose a scrubber with a soft sponge or a soft-bristle brush attached. This helps lift dirt without damaging the window surface.
- Brushing Techniques: Moisten the window with your cleaning solution and use the scrubber to tackle tough spots before following up with a squeegee.
6. Ladders or Scaffolding
For Hard-to-Reach Areas
For owners of larger homes or buildings, the use of ladders or scaffolding may be necessary to access high windows safely.
- Choosing the Right Ladder: Select a ladder that is sturdy and tall enough to reach the windows while ensuring stability. A ladder with wide rungs and a functional locking mechanism is ideal.
- Safety First: Always ensure the ladder is set on level ground. Have someone hold the bottom, if possible, for added support, and avoid overreaching to maintain balance.
Tips and Techniques for Efficient Window Cleaning
1. Plan Your Cleaning Schedule
Regular Maintenance
To keep your windows looking their best, establish a regular cleaning schedule based on your environment.
- Frequency: In a house situated near busy roads or in pollen-heavy areas, monthly cleaning might be necessary. In calmer areas, quarterly cleaning may suffice.
- Seasonal Consideration: Consider cleaning before the rainy season or after the pollen season to address seasonal dirt buildup promptly.
2. Start with Dry Dusting
Pre-Cleaning Steps
Before applying any cleaning solution, it’s helpful to dry dust the window surfaces and surrounding areas.
- Use a Dry Microfiber Cloth: This step removes loose dust and dirt, preventing it from turning into mud when wet. Wipe down the frames and sill to avoid streaks when wet cleaning.
- Address Window Screens: If your windows have screens, remove them and use a soft brush or vacuum attachment to eliminate trapped dust before proceeding to wash the glass.

3. Follow the Right Order
Systematic Approach
Developing a systematic cleaning process helps ensure that you achieve the best results without missing spots.
- Top to Bottom: Always clean your windows from the top down to prevent dripping dirt onto already cleaned areas. Clean the outside of the window before moving on to the interior.
- Inner and Outer Cleaning: If you encounter streaks after cleaning one side, wait until everything is dry before cleaning the other side. This prevents issues resulting from uncleaned outer surfaces influencing indoor visibility.
4. Utilize the “S” Technique with a Squeegee
Effective Squeegee Use
When using a squeegee, employing the right technique can make a world of difference in achieving a streak-free finish.
- The S Technique: Start at the top corner of the window and move the squeegee in an “S” motion down the pane. This technique helps guide water downward without leaving any marks.
- Cleaning the Blade: After each pass, wipe the squeegee blade with a clean cloth to avoid transferring any accumulated dirt back onto the window.
5. Pay Attention to Edges and Trims
The Final Details
After cleaning the glass, ensure that you pay attention to window edges and trims, which can often be overlooked.
- Detail Work: Use a smaller cloth or detailing brush to clean around the edges where dust and grime often accumulate. This detailed cleaning can elevate the overall appearance and preserve the window’s integrity.
- Regular Checks: Make inspecting and cleaning these areas a part of your routine to keep your windows looking pristine.
Troubleshooting Common Problems
1. Streaking
Diagnosing Causes
Streaks on windows can be incredibly frustrating, yet they are sometimes easily rectified.
- Using the Right Cleaning Solution: Ensure you’re using a quality window cleaner rather than household alternatives, which can leave residue. Also, when mixing solutions at home, avoid using soap as it can lead to streaking.
- Drying Technique: If streaking persists, check that you’re using a clean, dry cloth and that you’re wiping in a consistent manner, either all vertical or all horizontal.
2. Cloudy Residue
Identify the Source
A cloudy residue can be caused by various factors, including hard water spots or incorrect cleaning techniques.
- Dealing with Hard Water Stains: If hard water stains are present, gently scrub the area with a vinegar-water solution or a specialized hard water cleaner. Rinse thoroughly afterwards.
- Correct Cleaning Products: Ensure that the cleaning products you’re using are safe for glass and won’t leave behind residues that contribute to cloudiness.
3. Dust Accumulation After Cleaning
Preventing Recurrence
If windows seem to attract dust quickly after cleaning, a few factors may be involved.
- Environmental Factors: Windows near busy roads pick up dust and debris quickly. Consider using an anti-static spray, specifically meant for glass, to help repel dust.
- Revisit Cleaning Frequency: If dust accumulation is consistently a problem, consider adopting a more frequent cleaning schedule to maintain visibility.
Conclusion: Elevating Your Cleaning Routine
The Value of Well-Maintained Windows
A clean window not only enhances the beauty of your home but also benefits your overall well-being by allowing natural light to flow through freely, creating a more inviting atmosphere. Following proper installation techniques and employing regular cleaning routines will ensure that your windows remain in excellent condition for years to come.
Embrace the Importance of Every Detail
By using the right window cleaning tools and techniques, you can achieve professional-level results in your window cleaning efforts. Remember that details matter—taking the time to clean and maintain not just the glass, but also the frames and sills, will amplify your results.
Ongoing Education and Investment
As you continue to care for your windows, invest in learning about new products and techniques, including DIY window cleaning solutions, that can enhance your cleaning process. The better informed you are, the more effective your cleaning routine can become.
Celebrate Your Clean Windows
With the knowledge gained from this complete guide on dryer vents, stand back to admire your clean, streak-free windows! Enjoy the bright, welcoming light they bring to your home, and take pride in your hard work and attention to detail. Happy cleaning!