When working on DIY projects, construction tasks, or simple home improvements, precision is key. One common question that arises among both beginners and seasoned professionals alike is, where is 7/8 on a tape measure? Understanding this specific measurement can make a significant difference in the accuracy of your work. In this comprehensive guide, we will explore the intricacies of tape measures, focusing on the 7/8-inch mark, its location, and practical applications to ensure your measurements are always spot-on.
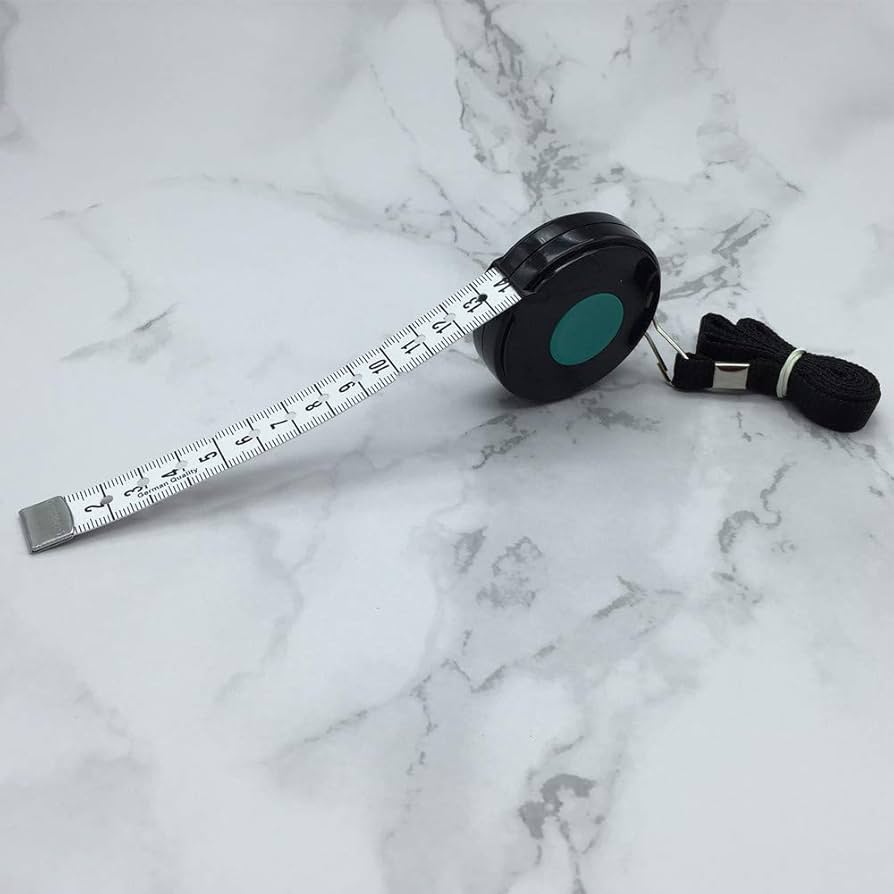
 The Anatomy of a Tape Measure
Before diving into the specifics of locating the 7/8-inch mark, it’s essential to understand the basic structure of a tape measure. Typically, a tape measure consists of the following components:
Standard Measurements and Markings
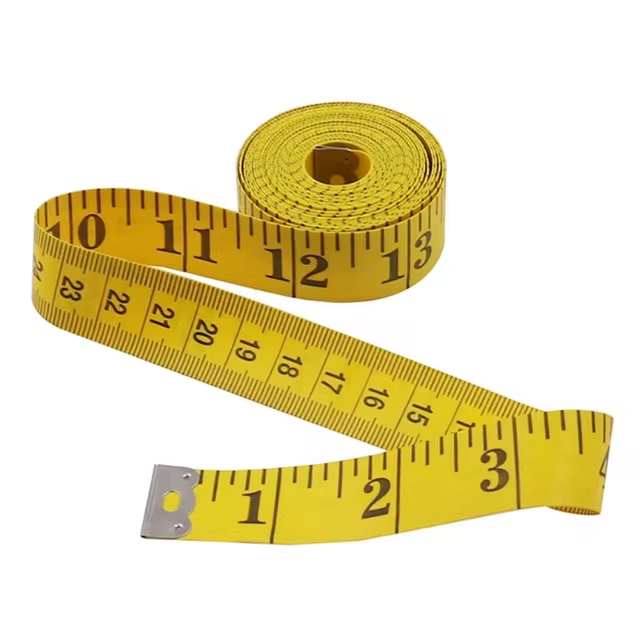
Tape measures often feature both imperial (inches) and metric (centimeters) systems. Each inch is divided into smaller increments, usually halves, quarters, eighths, and sometimes sixteenths of an inch. These markings help users achieve precise measurements required for various tasks.
Blade and Housing
The blade is the retractable metal strip that houses the measurement markings. It is protected by a durable housing, usually made of plastic or metal, which ensures longevity and usability.
Lock Mechanism
Most tape measures come with a lock mechanism that allows the blade to stay in place once extended. This feature is particularly useful when making accurate measurements or transferring measurements from one location to another.
 Locating the 7/8-Inch Mark on a Tape Measure
Now that we’ve covered the basics, let’s focus on the main topic: where is 7/8 on a tape measure. Understanding this specific location can enhance your measurement accuracy, especially in tasks requiring fine precision.
Breaking Down the Inch Markings
An inch is divided into eight equal parts, each representing 1/8 of an inch. Therefore, the markings on the tape measure indicate 1/8, 2/8 (which simplifies to 1/4), 3/8, 4/8 (simplified to 1/2), 5/8, 6/8 (which is 3/4), 7/8, and finally, the full inch.
Identifying the 7/8-Inch Mark
To locate the 7/8-inch mark:
- Start at the Inch Zero Point: Begin at the zero mark, which signifies the starting point of the measurement.
- Count the Eighths: Move your finger along the tape measure, counting each 1/8-inch increment up to seven.
- Spot the Mark: The 7/8-inch mark is the seventh line after the zero point, just one eighth of an inch before the full inch mark.
Visual Cues to Aid Identification
Most tape measures have different colors or thicknesses for various markings to help users distinguish between different fractions easily. The 7/8-inch mark may be slightly longer or highlighted differently than other eighths, making it easier to spot.
 Practical Applications of the 7/8-Inch Measurement
Understanding where 7/8 on a tape measure is crucial across multiple applications. Here are some scenarios where precise measurement plays a vital role:
Woodworking and Carpentry
In woodworking, precise measurements ensure that pieces fit together seamlessly. For instance, when cutting trim or molding, knowing the exact 7/8-inch mark can help achieve perfect joints and aesthetics.
Sewing and Crafting
For sewing professionals and enthusiasts, accurate measurements are essential for fabric cutting and pattern making. Locating the 7/8-inch mark can help in creating tailored garments and intricate designs.
Home Improvement Projects
Whether installing shelves, hanging artwork, or building furniture, using the 7/8-inch measurement can contribute to more precise and professional-looking results.
Plumbing and Electrical Work
In trades like plumbing and electrical work, precise measurements are crucial for fitting pipes, conduits, and fixtures. Understanding where the 7/8-inch mark is can help avoid errors that might lead to leaks or faulty connections.
Tips for Accurate Measurement
Achieving precision involves more than just knowing where 7/8 on a tape measure is. Here are some additional tips to enhance your measuring accuracy:
Hold the Tape Measure Correctly
Ensure that the tape measure is straight and taut when taking measurements. Avoid sagging or bending the tape, as this can lead to inaccurate readings.
Use a Stable Base
When measuring, place the tape measure against a stable surface to prevent movement that could skew the measurement.
Double-Check Your Measurements
Always verify your measurements by measuring twice. This practice can help catch any errors before they become problematic.
Familiarize Yourself with the Tape
Take the time to familiarize yourself with the tape measure markings and practice identifying various measurements, including 7/8 inches.
Common Mistakes to Avoid
Even with the best intentions, it’s easy to make mistakes when taking measurements. Here are some common pitfalls and how to avoid them:
Misinterpreting the Markings
Ensure you correctly interpret the tape measure markings. For instance, confusing 7/8 inches with 5/8 inches can lead to significant discrepancies in your project.
Not Keeping the Tape Straight
A crooked tape measure can result in inaccurate measurements. Always keep the tape straight and aligned with the edge or surface you’re measuring.
Over-Reliance on Memory
While it might be tempting to remember measurements without double-checking, this can lead to errors. Always refer back to the tape measure to confirm your measurements.
 Enhancing Your Toolset for Precision
To further improve your measurement accuracy, consider incorporating the following tools and techniques:
Use a Level
A level ensures that your measurements are not only precise in terms of length but also aligned correctly horizontally or vertically.
Calipers for Finer Measurements
For tasks requiring even more precision, calipers can be a valuable addition to your toolkit, allowing for measurements beyond the tape measure’s capabilities.
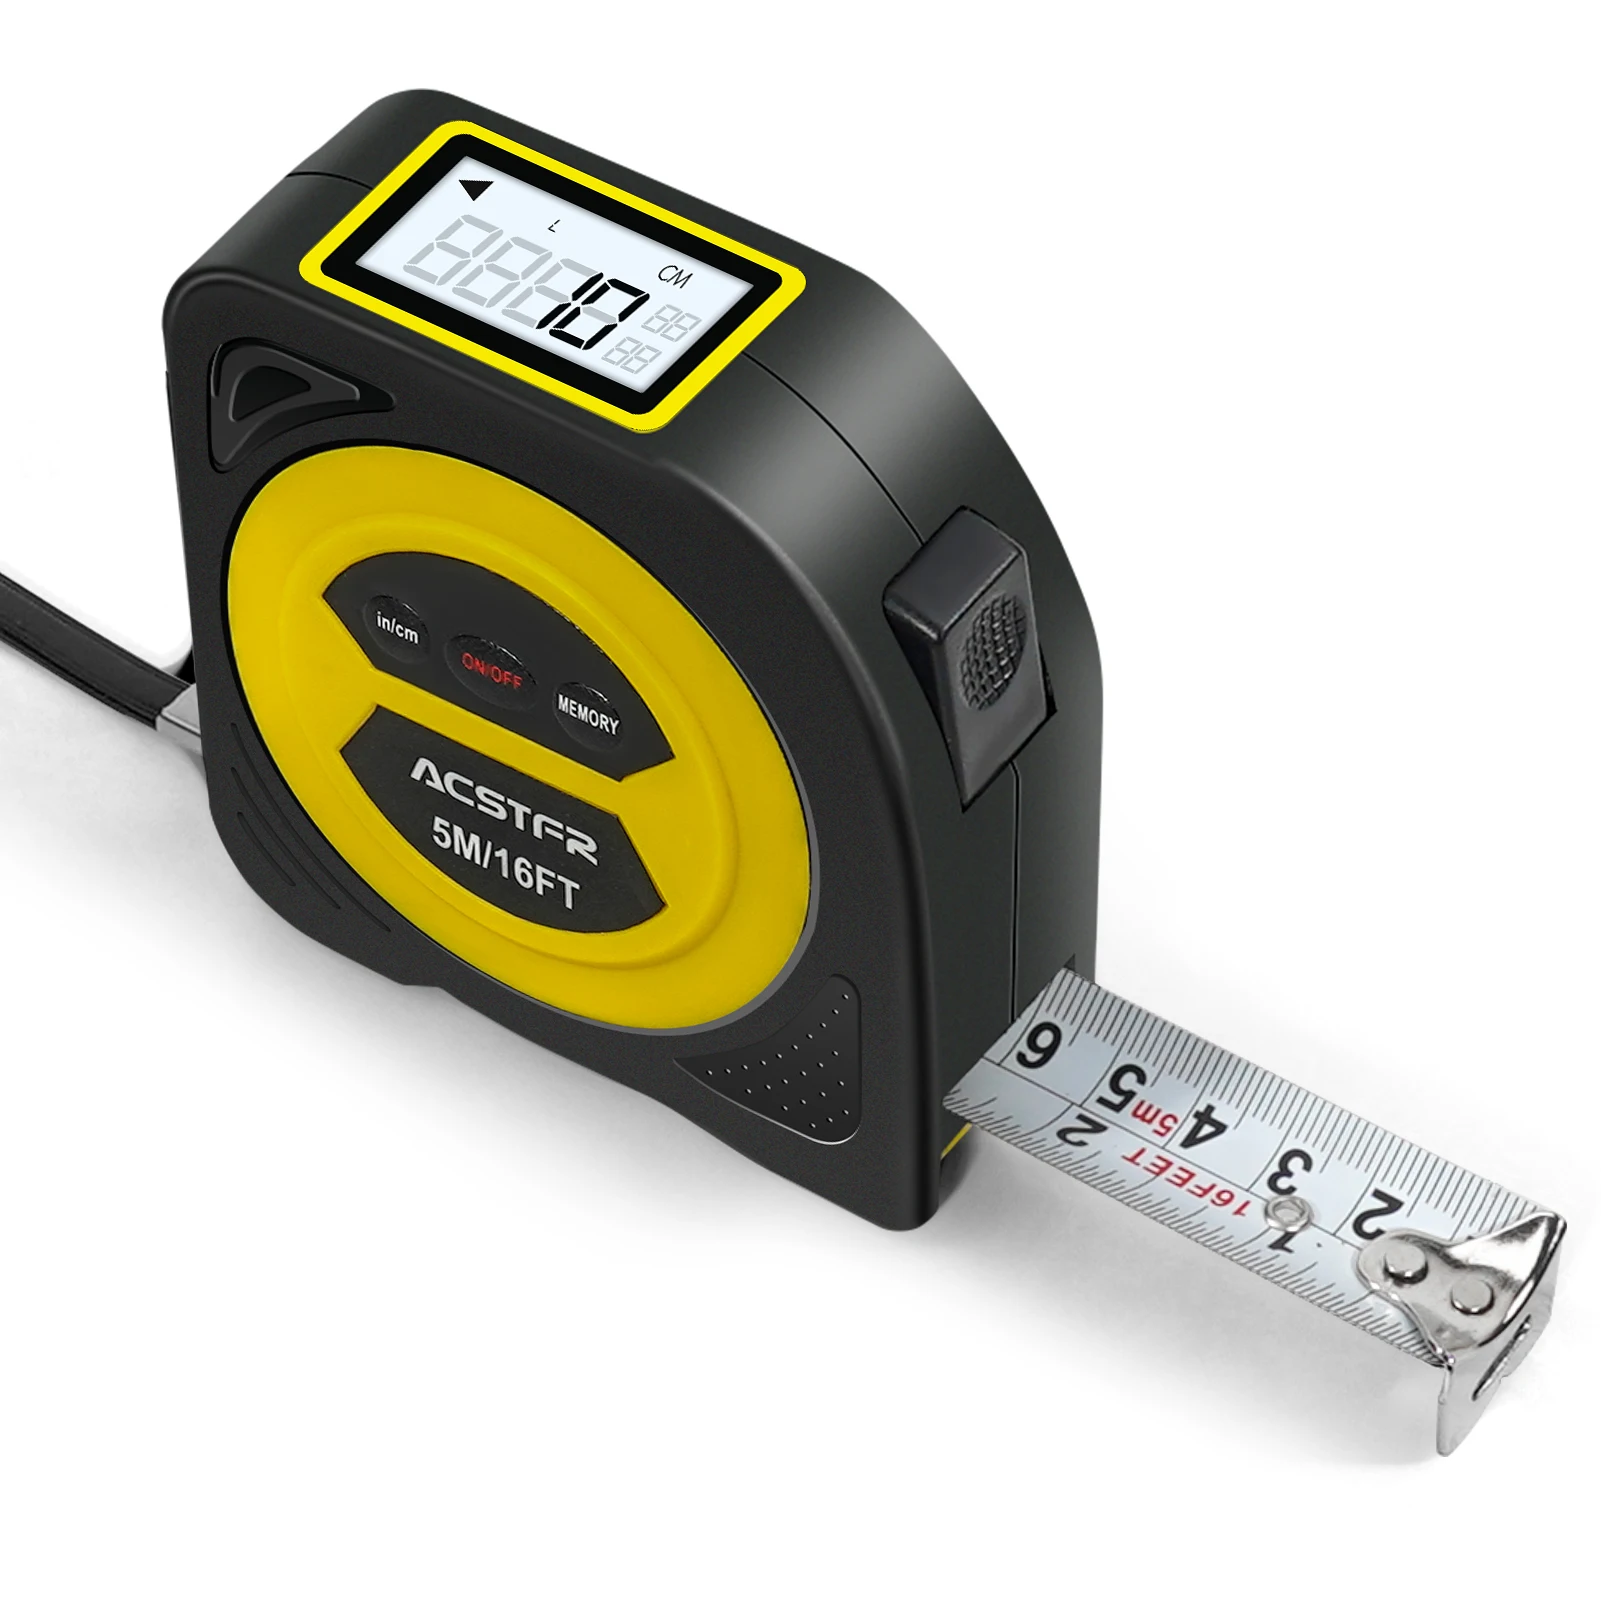
Digital Tape Measures
Digital tape measures offer enhanced accuracy and ease of use, often featuring additional functionalities like memory storage and digital readouts.
Frequently Asked Questions About the 7/8-Inch Mark
To address some common queries, here are answers to frequently asked questions regarding the 7/8-inch mark on a tape measure.
Why is the 7/8-Inch Mark Important?
The 7/8-inch mark is critical for tasks that require measurements close to the full inch but not quite there. It allows for greater precision and helps in achieving snug fits in various projects.
How Can I Quickly Identify the 7/8-Inch Mark?
Look for distinctive markings that differentiate 7/8 inches from other eighths. Often, the 7/8-inch line is slightly longer or colored differently to stand out.
Can I Rely Solely on the 7/8-Inch Mark for Accurate Measurements?
While the 7/8-inch mark is useful, relying solely on it without considering the overall context of your measurements can be limiting. Always use it in conjunction with other fractional markings for comprehensive accuracy.
Real-World Examples of Using the 7/8-Inch Measurement
Let’s explore some real-world scenarios where knowing where is 7/8 on a tape measure can be particularly beneficial:
Installing Baseboards
When installing baseboards, precise measurements ensure a perfect fit against the wall and floor. Knowing the 7/8-inch mark helps in aligning the baseboards correctly, avoiding gaps or overlaps.
Building Custom Shelves
Custom shelves often require exact dimensions to fit specific spaces. Using the 7/8-inch measurement can help in cutting the shelving materials to the right size, ensuring stability and aesthetics.
Crafting Frames
In crafting, especially when making frames, the 7/8-inch mark is useful for adding moldings or decorative elements that need to fit precisely around the edges.
Electrical Box Installations
Installing electrical boxes in walls or ceilings requires careful measurement to ensure proper placement and alignment. The 7/8-inch mark can assist in positioning boxes accurately.
The Importance of Precision in Measurements
Precision in measurements is not just about accuracy; it’s also about ensuring that the end result meets the desired quality and functionality. Here’s why precision matters:
Ensuring Structural Integrity
Accurate measurements contribute to the structural integrity of your projects. Whether you’re building a deck or installing cabinetry, precise measurements help maintain stability and safety.
Enhancing Aesthetic Appeal
Precision affects the visual appeal of your projects. Well-measured components fit together seamlessly, creating a polished and professional look.
Saving Time and Resources
Accurate measurements minimize the need for rework, saving both time and materials. This efficiency can be particularly valuable in large-scale projects where errors can be costly.
Facilitating Better Planning
Precision allows for better planning and execution of projects. Knowing exactly where to cut or place elements ensures that each step aligns with the overall project requirements.
 Conclusion: Mastering the 7/8-Inch Mark on Your Tape Measure
In conclusion, knowing where is 7/8 on a tape measure is a fundamental skill that enhances the accuracy and quality of your projects. By understanding the tape measure’s markings, practicing proper measurement techniques, and applying the 7/8-inch mark in various applications, you can achieve precise and professional results every time. Whether you’re a DIY enthusiast, a professional carpenter, or someone who simply enjoys crafting, mastering this measurement will undoubtedly improve your work’s precision and reliability.
Remember, precision starts with understanding your tools. By familiarizing yourself with the 7/8-inch mark and other fractional measurements on your tape measure, you set the foundation for success in all your measuring endeavors. So next time you reach for your tape measure, confidently navigate to the 7/8-inch mark and measure with assurance knowing that accuracy is within your grasp.