Introduction to Tape Measure Reading
A tape measure reading is a fundamental skill for anyone involved in construction, DIY projects, or even sewing. Whether you’re measuring a wall for drywall installation or cutting lumber for a bookshelf, understanding how to interpret the markings on a tape measure ensures precision and efficiency. However, many users struggle with tape measure reading, especially when dealing with fractions, imperial vs. metric units, or identifying tape measure lines. This guide will walk you through the essentials of tape measure reading, from basic units to advanced techniques, ensuring you can confidently measure any object. By the end, you’ll be able to decode tape measure readings like a professional.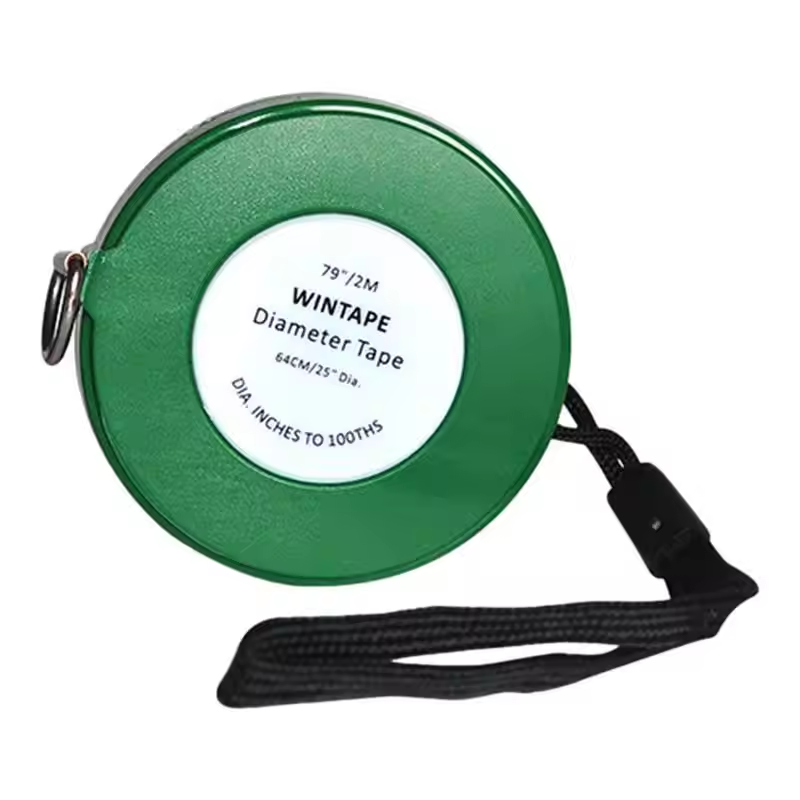
Understanding the Basics of Tape Measure Reading
Tape measure reading begins with familiarizing yourself with the layout of the tool. A tape measure is a flexible ruler with a retractable blade marked with units of length. Here’s how to start:
- Imperial Units (Inches):
- The longest lines represent whole inches.
- Shorter lines denote fractions (e.g., ½”, ¼”, ⅛”).
- For example, what does 5/16 look like on a tape measure? It’s the second shortest line after ¼”.
- Metric Units (Centimeters/Millimeters):
- Centimeters are marked every 1 cm, with smaller lines for millimeters.
- 1 inch = 2.54 cm; most tape measures include dual scales for flexibility.
- Combination Tape Measures:
- Offer both imperial and metric markings, ideal for international projects.
- Look for clear, color-coded scales to avoid confusion.
- Specialized Markings:
- Some tape measures include additional markings for feet, yards, or decimal equivalents.
- For instance, a 12-inch (1-foot) mark may be labeled “1 ft” for quick reference.
Tape measure reading becomes intuitive once you understand these basics. Start by practicing with simple objects like a book or a piece of wood to build confidence.
Step-by-Step Guide to Tape Measure Reading
Mastering tape measure reading requires practice. Follow these steps:
- Secure the Hook: Place the hook against a stable surface to prevent slipping. Ensure the hook is aligned with the edge of the object being measured.
- Extend the Blade: Pull the tape out until the desired mark is visible. Hold the tape taut to avoid sagging, which can lead to inaccurate readings.
- Read the Measurement: Align the tape with the object, ensuring it’s straight. For imperial measurements, identify the whole inches and then the fractional marks. For metric, note the centimeters and millimeters.
- Record the Data: Note the measurement in a notebook or digital app for reference. Use a pen or pencil to mark the object at the measured point.
- Retract Safely: Push the blade back into the case to avoid damage. Ensure the tape is fully retracted before closing the case to prevent kinks.
Avoid bending or twisting the tape to maintain accuracy. For example, when measuring a wall, ensure the tape is flat against the surface to avoid sagging. This attention to detail ensures your tape measure reading is precise and reliable.
Common Challenges in Tape Measure Reading
Even experienced users face challenges when interpreting tape measure readings. Here’s how to tackle them:
- Misreading Fractions: Confusing ⅜” with ⅝” can lead to errors in carpentry or plumbing. Use a magnifying glass for clarity.
- Forgetting to Account for Thickness: When measuring objects like wood or metal, include their thickness for precise cuts. For instance, if measuring a board’s width, ensure the tape accounts for the board’s edges.
- Using a Damaged Tape: Cracks or bent blades compromise accuracy. Replace worn-out tapes immediately to avoid miscalculations.
- Not Calibrating Regularly: Periodically check your tape measure against a known standard to ensure consistency. A simple way is to measure a ruler or a calibrated object.
- Ignoring Zero Offset: The hook’s tip may add or subtract a small margin—check the manufacturer’s specifications. For example, some hooks are designed to measure the outside edge, while others measure the inside.
Avoiding these pitfalls ensures reliable results. For instance, when cutting lumber, a misread fraction can lead to a piece that’s too short or long, causing delays and material waste. Always double-check your tape measure reading before making a cut.
Advanced Techniques for Precision in Tape Measure Reading
Once you’ve mastered tape measure reading, elevate your skills with these advanced tips:
- Measuring Angles: Use a protractor or angle finder alongside your tape measure for precise cuts. For example, when building a frame, ensure all corners are 90 degrees to maintain structural integrity.
- Checking Squareness: The 3-4-5 rule (3 ft x 4 ft x 5 ft) ensures corners are square. This technique is invaluable for laying tiles or constructing shelves.
- Measuring Curved Surfaces: Wrap the tape around irregular shapes for circumference readings. This is particularly useful in sewing or crafting.
- Using a Retractable Hook: Some tape measures have hooks that extend beyond the blade for measuring over edges. This feature is handy when working with pipes or beams.
- Calibrating for Accuracy: Professionals often calibrate their tools against certified standards for precision. For example, a contractor might use a laser level to verify tape measure readings.
Mastering these techniques elevates your skills. For instance, using the 3-4-5 rule can prevent costly mistakes in construction projects. Additionally, understanding how to measure curved surfaces expands your versatility in creative endeavors.
How to Read a Tape Measure for Beginners
If you’re new to tape measure reading, start with these foundational steps:
- Start with a Basic Model: Begin with a 25 ft (7.6 m) steel tape measure for general use. Avoid overly complex models until you’re comfortable.
- Practice Measuring Common Objects: Use household items like books, boxes, or furniture to build confidence in reading fractions and decimals. For example, measure the length of a book and compare it to a ruler for verification.
- Use a Digital Tape Measure for Complex Tasks: Models with LCD screens display measurements instantly. These are ideal for projects requiring high precision, such as installing cabinets.
- Mark Measurements Clearly: Use chalk, pencils, or laser markers for clean, visible lines. This is crucial when cutting materials like wood or metal.
- Store Properly: Keep the tape measure in a dry, secure location to prevent kinks or rust. A damaged tape can lead to inaccurate tape measure readings, so proper storage is vital.
Beginners benefit from patience and practice. Start with small projects, like measuring a room’s dimensions, and gradually take on more complex tasks as your confidence grows.
Troubleshooting Common Tape Measure Reading Issues
Even with practice, issues can arise when interpreting tape measure readings. Here’s how to fix them:
- Blade Won’t Retract: Clean the reel and apply lubricant. Dirt or debris can cause the blade to jam.
- Blade is Bent: Straighten gently with pliers; replace if damaged. A bent blade can lead to inconsistent tape measure readings.
- Incorrect Readings: Compare against a known standard and recalibrate if necessary. For example, measure a 12-inch ruler to check accuracy.
- Hook is Loose: Tighten the screw or replace the hook to maintain accuracy. A loose hook can shift during tape measure readings, leading to errors.
- Tape is Stuck: Use a hairdryer to loosen adhesive or replace the blade. Stuck blades can damage the tape or the object being measured.
Addressing these issues keeps your tape measure functional. For instance, a stuck blade can be frustrating during a time-sensitive project, so knowing how to resolve it quickly saves time and reduces stress.
Top Tools and Resources for Learning Tape Measure Reading
To enhance your ability to interpret tape measure readings, consider these tools:
- Online Tutorials: Platforms like YouTube offer visual guides for tape measure with fractions. Watching a video can clarify confusing markings.
- Measurement Apps: Apps like “Measure” or “Tape Measure Pro” provide digital alternatives. These are useful for verifying manual tape measure readings.
- Workshops: Join local DIY classes to get hands-on experience. Practical sessions help reinforce theoretical knowledge.
- Practice Kits: Purchase a set of sample materials to practice measuring. This is ideal for beginners who want to experiment without risk.
- Books: Titles like “The Complete Guide to Measuring Tools” offer in-depth explanations. These resources can help you understand advanced techniques.
These resources reinforce your learning and build confidence. For example, an online tutorial might demonstrate how to measure a circular object, while a workshop could teach you to use a laser tape measure for large spaces.
Tape Measure Reading for Different Industries
The principles of tape measure reading vary slightly depending on the industry:
- Construction: Focus on imperial units for framing, plumbing, or electrical work. Precision is critical for structural integrity.
- Sewing and Tailoring: Use metric units for fabric measurements. A tape measure with millimeter markings ensures accurate cuts.
- Carpentry: Combine imperial and metric readings for projects involving wood and metal. Dual-scale tape measures are ideal for versatility.
- Engineering: Prioritize metric units for technical drawings and blueprints. Precision down to millimeters is essential.
- Landscaping: Use feet and meters for garden planning. A tape measure with large, clear markings simplifies outdoor tasks.
Understanding industry-specific needs enhances your tape measure reading skills. For instance, a carpenter might focus on imperial fractions, while an engineer relies on metric precision.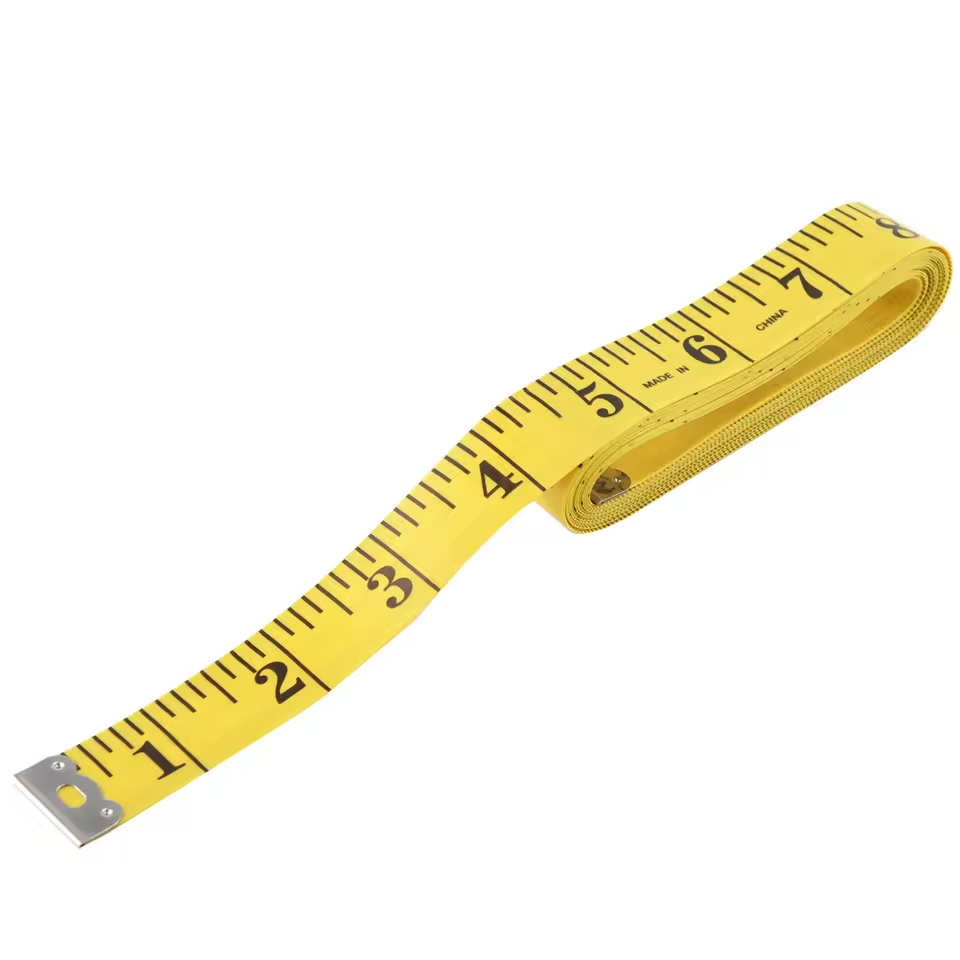
The Role of Tape Measure Lines in Accurate Readings
The tape measure lines are the key to accurate tape measure reading. Each line represents a specific unit, and misinterpreting them can lead to errors. Here’s how to decode them:
- Whole Inches: Longest lines with numbers indicate inches.
- Fractions: Shorter lines between inches denote halves, quarters, eighths, and sixteenths.
- Metric Lines: Centimeters are marked every 1 cm, with smaller lines for millimeters.
- Feet and Yards: Some tape measures include labels like “ft” or “yd” for quick reference.
- Decimal Equivalents: Advanced tape measures show decimal conversions for precise calculations.
By mastering tape measure lines, you’ll avoid common mistakes. For example, confusing ⅜” with ⅝” can ruin a woodworking project, so careful attention to tape measure lines is crucial.
How to Improve Your Tape Measure Reading Skills
To refine your tape measure reading abilities, try these methods:
- Practice Daily: Measure household items to reinforce your skills. Consistency builds muscle memory.
- Use a Magnifying Glass: Enhance visibility of small tape measure lines for accuracy.
- Learn Decimal Conversions: Convert fractions to decimals for easier calculations. For example, ½” = 0.5 inches.
- Compare with Digital Tools: Cross-check manual tape measure readings with laser measures or apps.
- Attend Workshops: Hands-on training improves confidence in real-world scenarios.
These strategies help you become proficient in tape measure reading. For instance, daily practice with a magnifying glass can eliminate errors in small-scale projects.
Tape Measure Reading vs. Other Measuring Tools
Understanding how tape measure reading compares to other tools helps you choose the right one for the job:
- Ruler: Best for short distances but impractical for large projects. A tape measure is more versatile for longer measurements.
- Laser Measure: Ideal for large spaces but requires batteries. A tape measure is battery-free and more durable.
- Calipers: Perfect for small, precise measurements but not suitable for long distances. A tape measure is better for general use.
- Folding Rule: Rigid and limited in length, while a tape measure is flexible and extends further.
- Digital Tape Measure: Offers instant readings but may be more expensive. A traditional tape measure is cost-effective for most tasks.
Each tool has its strengths—choose based on your task. For example, a laser measure is ideal for a large room, while a tape measure is better for cutting lumber.
Conclusion: Mastering the Art of Tape Measure Reading
A tape measure reading is more than a simple task—it’s the foundation of precision in any project. Whether you’re a novice learning tape measure reading for the first time or a seasoned professional tackling large-scale construction, understanding your tape measure’s features and limitations is key. By investing in the right type, practicing proper techniques, and maintaining your tool, you’ll achieve consistent, error-free results. Upgrade your toolkit with a tape measure that meets your needs and unlocks new levels of accuracy!