Introduction to Milwaukee Hole Saws
Milwaukee Hole Saws are a top choice for professionals and DIY enthusiasts alike. These tools stand out for their durability and precision in creating perfect holes in a variety of materials. When you pick up a Milwaukee Hole Saw, you’re handling a tool designed for performance and long-term use.
Milwaukee is a brand known for its reliable and innovative construction tools. Their hole saws embody this reputation. With a lineup that includes bi-metal, carbide-tipped, and diamond hole saws, Milwaukee offers solutions tailored for different tasks. Whether you’re working with wood, metal, or masonry, Milwaukee has a hole saw designed for the job.
Picking the right Milwaukee Hole Saw involves understanding the specific needs of your project. From tooth design to depth of cut, these hole saws come in various aspects that cater to precision and efficiency. Users appreciate the various sizes and types available, each engineered to tackle unique challenges.
Milwaukee’s commitment to quality means these hole saws integrate features that support ease of use and timesaving. For example, their Plug Jack? feature enables users to remove plugs quickly, enhancing productivity. The durability of these hole saws is also enhanced by their construction, often featuring RIP GUARD? teeth for maximum strength.
In the following sections, we delve deeper into the essential features of Milwaukee Hole Saws and offer guidance on selecting the right one for your project. Learn how to use these tools effectively and explore safety tips, maintenance advice, and advanced techniques to maximize their potential.

Essential Features of Milwaukee Hole Saws
Milwaukee Hole Saws standout with their advanced features. These features ensure high-quality performance and durability for a wide range of applications.
Bi-Metal Construction
Milwaukee’s bi-metal hole saws use two types of steel. This design offers both flexibility and strength. Hard, high-speed steel forms the teeth. This material cuts through tough materials with ease. A softer, carbon steel body reduces the risk of breakage.
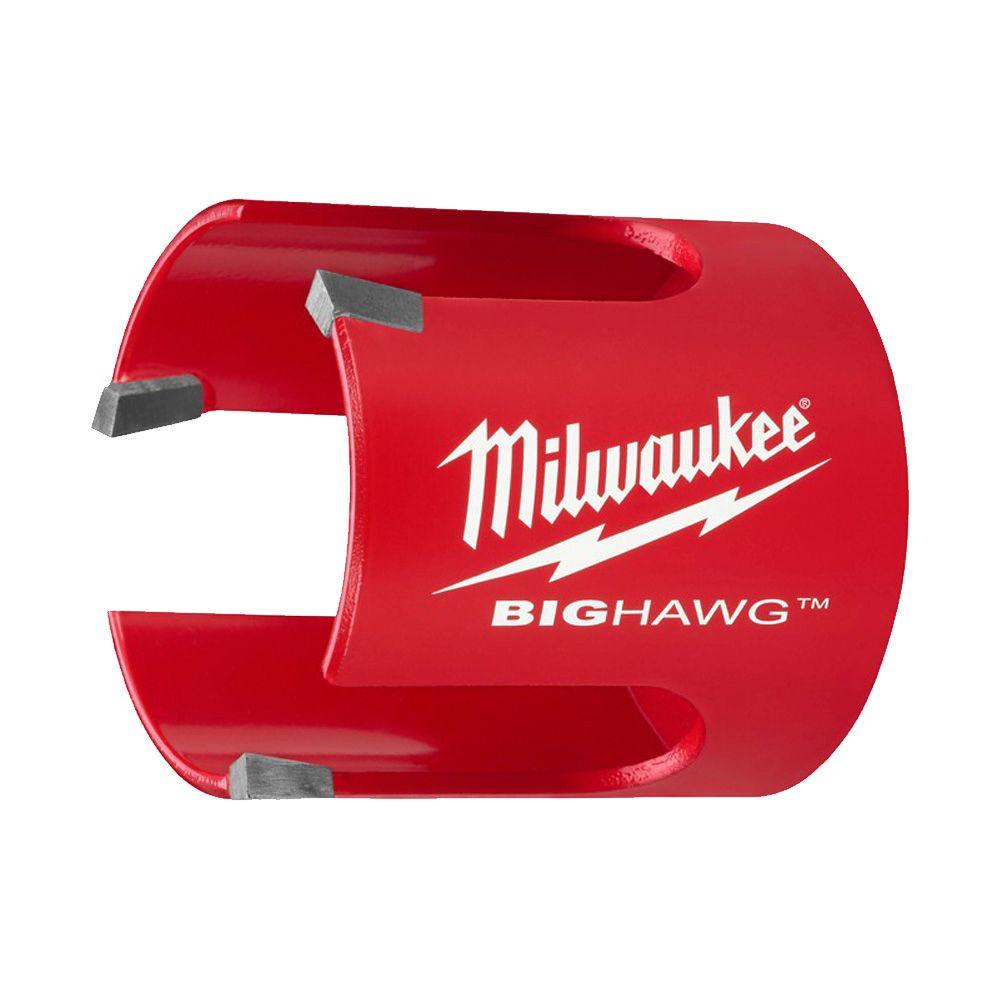
Carbide-Tipped Options
For demanding tasks, carbide-tipped hole saws are ideal. They easily cut through harder materials. Carbide is known for staying sharp longer. This means fewer blade changes and more consistent performance.
Diamond Hole Saws
When working with extremely hard surfaces like tile or stone, Milwaukee’s diamond hole saws are the best choice. Diamond grit edges provide unmatched cutting ability. They also last significantly longer than traditional toothed saws.
Plug Jack? Feature
The Plug Jack? feature is all about saving time. It allows for quick and easy plug removal after drilling. This increases overall productivity on the job.
RIP GUARD? Teeth
RIP GUARD? teeth are a unique feature. They provide unmatched strength and come with a limited lifetime tooth break warranty. This guarantees durability and peace of mind.
Depth of Cut Consideration
All Milwaukee Hole Saws have a specific depth of cut. This is important for tasks that require a certain thickness. Checking this feature is essential when selecting the correct saw for your project.
Selecting the Right Milwaukee Hole Saw for Your Project
Selecting the appropriate Milwaukee Hole Saw for your task is crucial. It ensures efficiency and precision in your work. Consider the following aspects to make an informed choice.
Assess the Material
First, identify the material you will be cutting. Wood, metal, and masonry each require a different type of Milwaukee Hole Saw. Bi-metal saws are versatile for general use, while carbide-tipped and diamond saws excel in harder materials.
Consider the Size
Milwaukee Hole Saws come in various sizes. Choose one that matches the diameter of the hole you need. Always check the saw’s size against the specifications of your job.
Look at Tooth Design
The design of the teeth affects the cut. Fine teeth are better for metal, whereas coarse teeth work well on wood. The RIP GUARD? teeth on Milwaukee saws add durability and strength.
Check the Depth of Cut
Milwaukee Hole Saws have different cutting depths. Ensure the one you pick can handle the thickness of your material. This ensures a clean cut all the way through.
Speed and Torque Requirements
Your power drill’s speed and torque play a part in the choice. A powerful drill pairs well with larger saws, while smaller saws require less torque.
Frequency of Use
If you use Milwaukee Hole Saws often, invest in a durable option like carbide-tipped or diamond saws. They withstand frequent use and maintain sharpness over time.
By considering these factors, you can select the right Milwaukee Hole Saw for your project. Doing so maximizes tool performance and increases the potential for precise results.
Step-by-Step Instructions on Using Milwaukee Hole Saws
Using Milwaukee Hole Saws correctly is key to achieving the best results. Follow these simple steps for effective cutting:
Choose the Right Hole Saw
Identify your material and select a hole saw that matches. Consider the material type and hole size needed. Pick from bi-metal, carbide-tipped, or diamond options based on your project needs.
Secure the Workpiece
Make sure your work surface is stable. Use clamps or a vise to hold the material firmly. This prevents movement and ensures a clean hole.
Attach the Hole Saw to Your Drill
Fix the hole saw to the drill securely. Ensure it is tight to avoid slippage. Check that it spins freely without wobbling.
Mark the Center Point
Use a pencil to mark where you want to drill. The center of the hole saw should align with this mark to guarantee precision.
Start Drilling at a Low Speed
Begin drilling with the drill set to a low speed. Apply gentle pressure and let the saw’s teeth do the cutting. This helps maintain control and reduces heat buildup.
Increase Speed Gradually
As the hole saw cuts into the material, you can slowly increase speed. Keep a steady hand and consistent pressure for a smooth cut.
Use Cooling Methods for Metal
When drilling metal, it’s important to keep the saw cool. Use a cutting oil or water to reduce heat. This extends the life of your hole saw.
Clear the Plugs with Plug Jack?
After cutting the hole, remove any plugs using the Plug Jack? feature. This saves time and keeps your workspace clean.
Repeat for Additional Holes
If you need to drill more holes, repeat the process. Ensure each new starting point is marked correctly.
By following these steps, you can effectively use Milwaukee Hole Saws for precise and clean holes.
Safety Tips and Best Practices
When using Milwaukee Hole Saws, safety should always be the top priority. Here are key tips and best practices to keep in mind:
Wear Protective Gear
Always wear safety glasses to protect your eyes from debris. Use gloves to safeguard your hands and ear protection in noisy environments.
Inspect Your Tools
Before use, examine the hole saw for damage. Look for worn or broken teeth. Replace if needed to avoid accidents.
Secure the Work Area
Keep the area clear of clutter. Ensure a stable surface for your material. A neat work environment is safer and more efficient.
Use the Right Drill
Match the hole saw with a suitable drill. High-powered drills work best for larger saws, while less torque is needed for smaller saws.
Maintain Proper Posture
Stand firmly and keep a balanced stance. Hold the drill with both hands for control. Avoid overreaching to maintain stability.
Follow Manufacturer Instructions
Read and understand the manual for your Milwaukee Hole Saw. Follow the recommended guidelines for safe and effective usage.
Do Not Force the Drill
Apply gentle pressure and let the teeth cut gradually. Forcing the drill can cause slips or breakage.
Take Breaks
If you are drilling multiple holes or working for an extended period, rest regularly. This helps you stay alert and reduces fatigue.
By adhering to these safety tips and best practices, you can use Milwaukee Hole Saws with confidence, minimizing risk and ensuring a successful outcome for your project.
Maintenance and Care for Longevity
To ensure your Milwaukee hole saws have a long lifespan, regular maintenance and care are essential. Here are the steps to keep your tools in top condition:
Clean After Use
Always clean your hole saw after each use. Remove any debris or dust that can collect on the blade and in the teeth.
Inspect Regularly
Check your Milwaukee hole saws for signs of wear or damage. Look closely at the teeth and replace the saw if you notice any cracks or missing teeth.
Store Properly
Keep your hole saws in a dry and cool place. Hang them up or store them in a case to prevent damage from moisture or impact.
Sharpen the Teeth
If your hole saws have become dull, sharpen the teeth using a suitable file. Only do this if you’re confident in your skills to avoid further damage.
Use the Correct Speed
Using the proper speed extends the life of your Milwaukee hole saws. Follow the recommended speed for the material you’re cutting.
Apply Cutting Fluid
When cutting metal, use cutting fluid to reduce friction. This keeps the temperature down and prevents premature wear.
Avoid Overheating
Do not let your hole saw overheat. Pause and let it cool down if needed.
By following these care instructions, your Milwaukee hole saws will perform better and last longer. Ensure you adopt these habits to maximize the value of your investment.
Common Pitfalls and How to Avoid Them
While using Milwaukee Hole Saws, common issues can arise. These pitfalls can affect the outcome of your project. Avoiding them will improve results and extend tool life. Here are common mistakes and their solutions:
Choosing the Wrong Saw for the Material
One mistake is using a hole saw not suited to your material. A bi-metal saw on stone, for example, will wear it down quickly. Always match the saw type with the material’s hardness. This will ensure an efficient and safe cutting process.
Ignoring the Speed Recommendations
Using too high a speed may overheat the hole saw. This can dull the teeth quickly and shorten the saw’s life. Always start at a low speed. Increase it only as needed for the material and saw size.
Forgetting to Secure the Workpiece
A moving workpiece can lead to an uneven cut or damage. Use clamps or a vise to hold it firmly. This will give you a clean hole and prevent accidents.
Overlooking Safety Gear
Skipping safety gear puts you at risk. Always wear your safety glasses, gloves, and ear protection. They protect you from flying debris and loud noises.
Not Using Cooling Methods for Metal
Cutting metal generates a lot of heat. This heat can damage the saw. Use cutting fluids to keep the saw cool. This will help maintain the sharpness of the teeth.
Applying Too Much Pressure
Forcing the drill can bend or break the saw. Use gentle pressure. Let the saw cut at its own pace. This will result in a smoother cut and reduce tool strain.
Failing to Perform Regular Maintenance
A lack of cleaning and care leads to faster deterioration. Clean the saw after each use. Check for damage before each job. Store them properly to protect from moisture and impacts.
By knowing these common issues and how to steer clear of them, you will keep your Milwaukee Hole Saws in peak condition. This will also enhance safety and precision on all your projects.
Advanced Techniques and Accessories
Once you’re comfortable with the basics of using Milwaukee Hole Saws, you can explore advanced techniques and handy accessories that can further enhance your drilling experience.
Explore Angle and Offset Drilling
One technique to master with Milwaukee Hole Saws is angle drilling. This allows you to create holes that are not perpendicular to the material’s surface. To drill at an angle, tilt your drill to the desired angle. Keep a steady hand and begin slowly until you establish a groove to guide the saw. Offset drilling is another technique for creating holes near the edge of the material or in tight spaces. Use caution as these methods require more precision.
Utilize Arbor Adapters
Milwaukee offers arbor adapters for their hole saws. These handy accessories allow you to fit your Milwaukee Hole Saw onto drills of different sizes. Adapters ensure a secure fit, reducing wobble and ensuring a clean cut.
Consider Dust Management
Managing dust is critical when working on materials like wood or drywall. Milwaukee has dust management solutions that capture dust as you drill. This keeps your workspace clean and reduces the risk of inhalation.
Implement Depth Stops
If you need consistent hole depths, consider using a depth stop accessory. It will limit how deep the saw can cut, ensuring uniformity across multiple holes. Milwaukee provides depth stops that fit across their range of hole saws.
Use Extension Accessories
For hard-to-reach areas, extension accessories can be a lifesaver. These extensions allow you to increase the reach of your hole saw, making it easier to drill in deep or obstructed spaces.
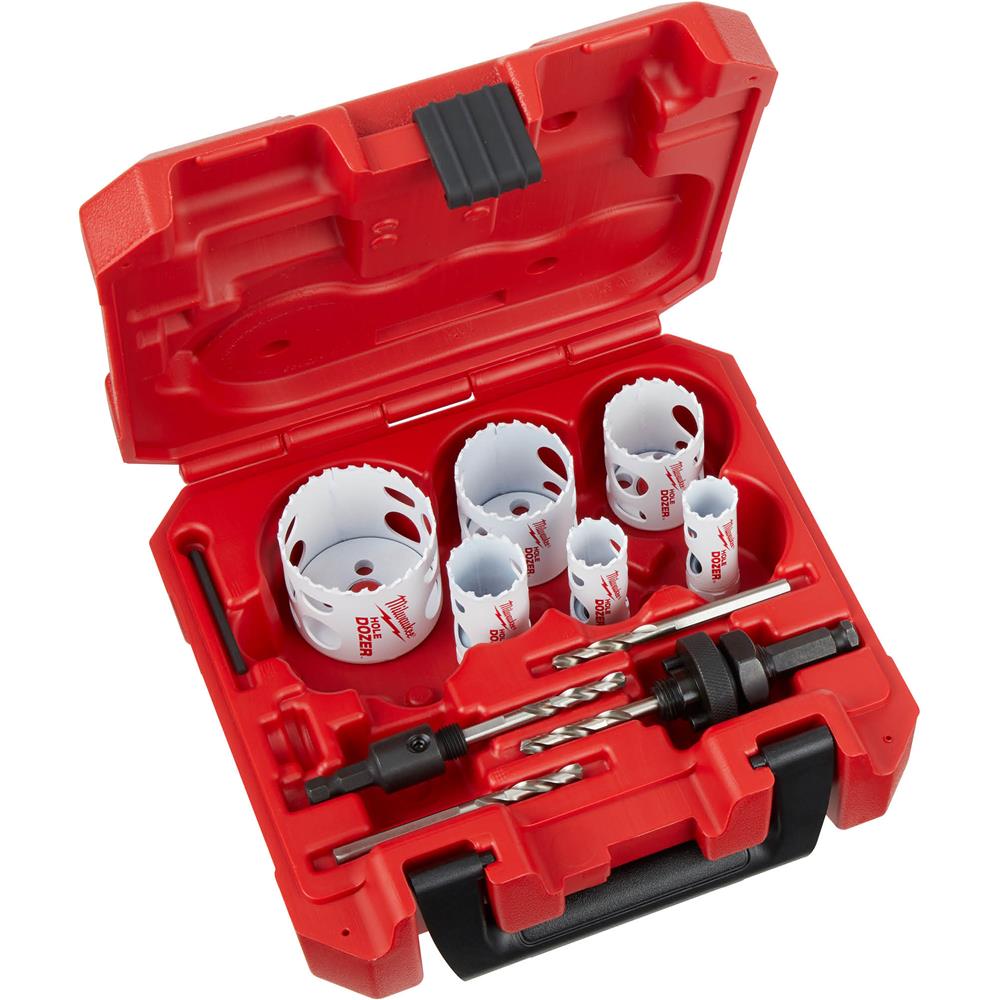
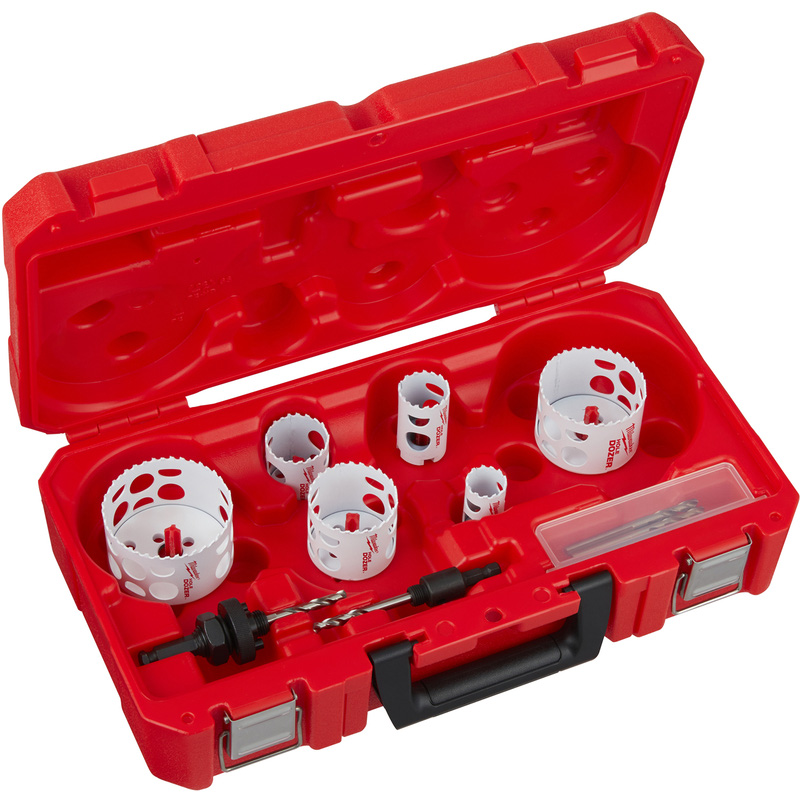
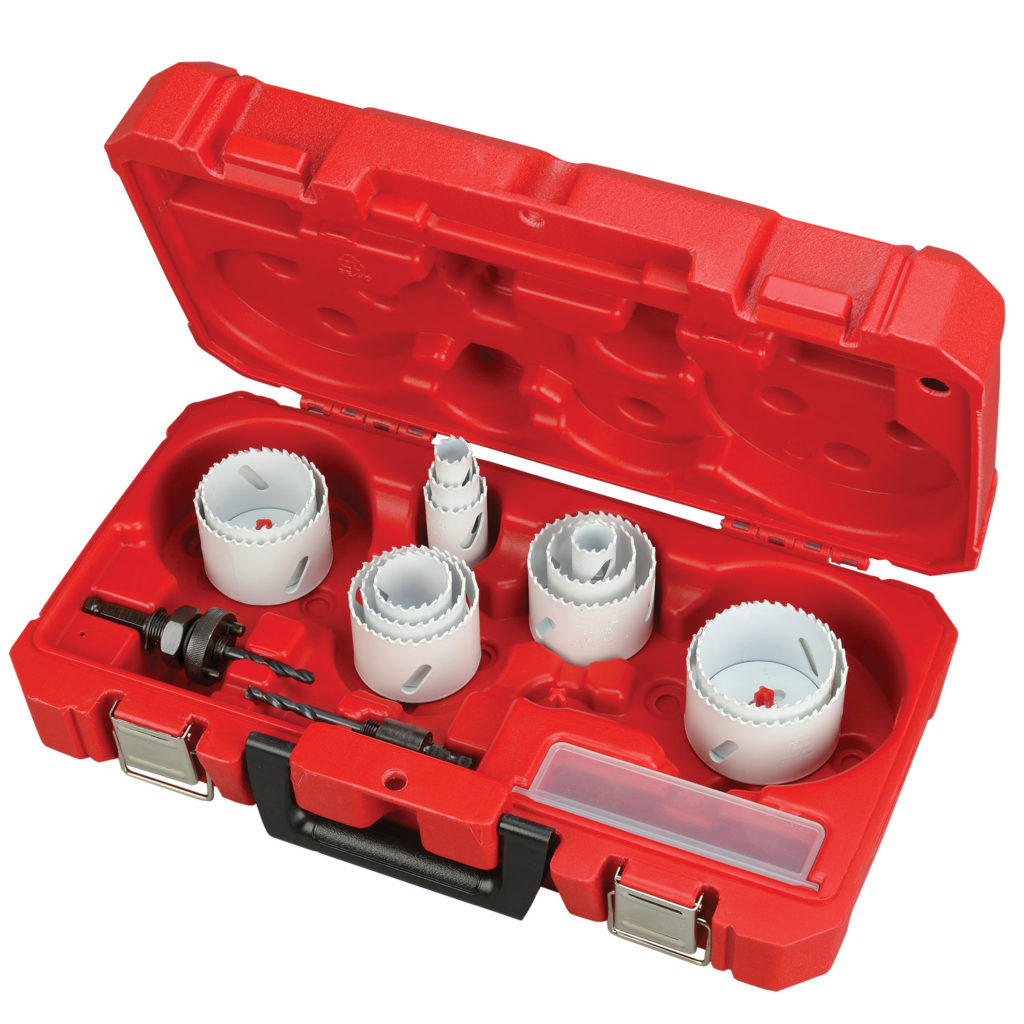
Keep Spares and Kits Handy
Milwaukee sells individual hole saws and kits. Having a kit with a range of sizes and replacement parts is convenient. Store spare saws and teeth so you can replace them as needed without stopping your work.
In addition to these accessories and techniques, always remember to use milwaukee hole saws within their intended applications, and maintain them well for optimal performance. Practicing these advanced techniques and utilizing the appropriate accessories can greatly contribute to more efficient and precise hole saw usage.