Introduction to Wet Tile Saws
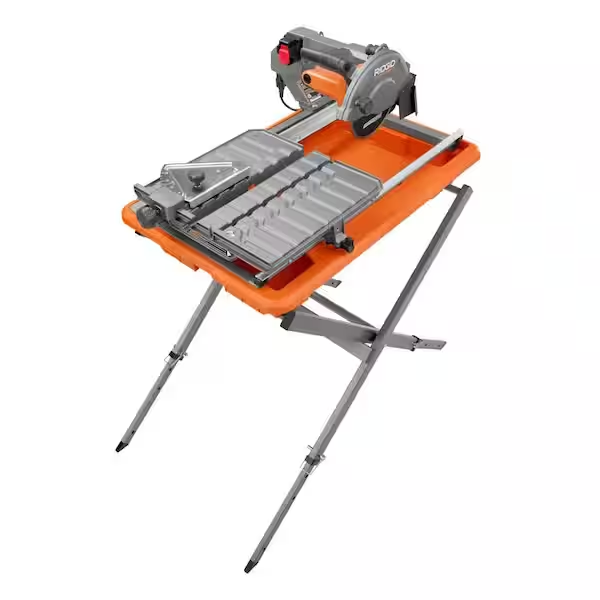
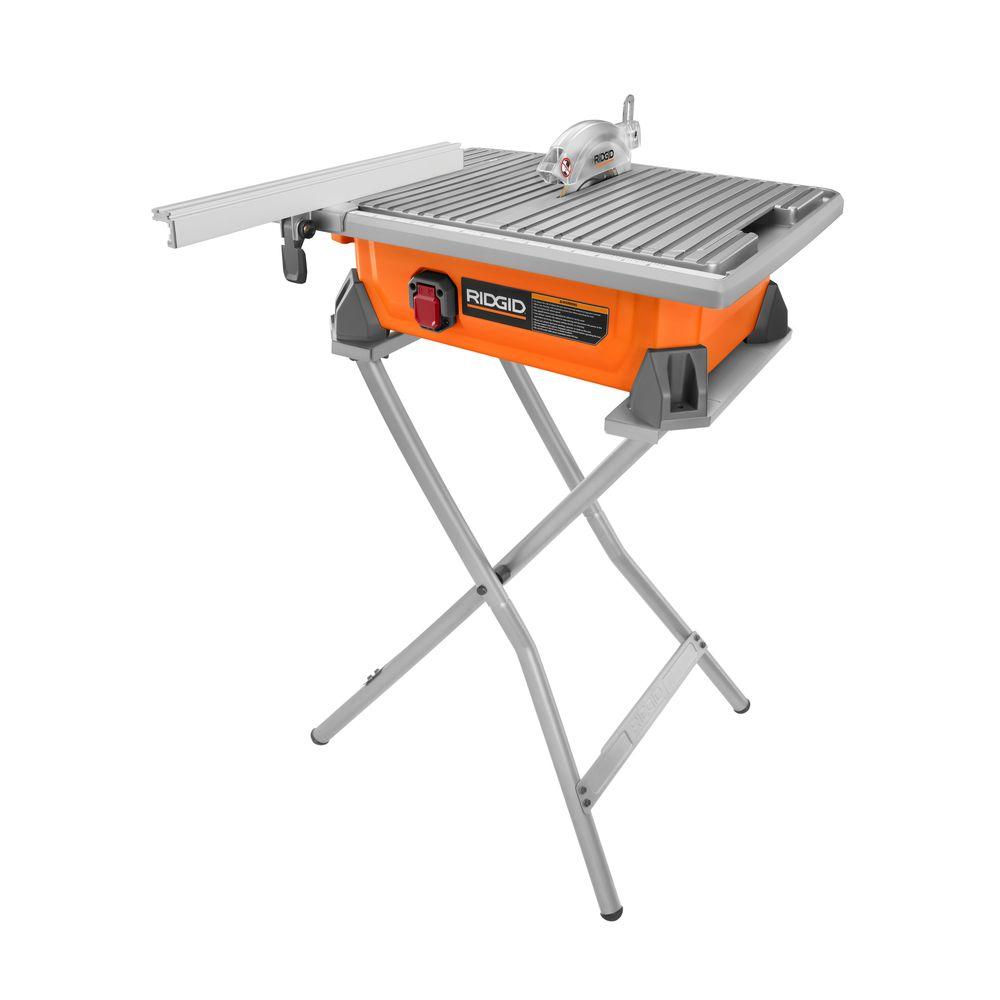
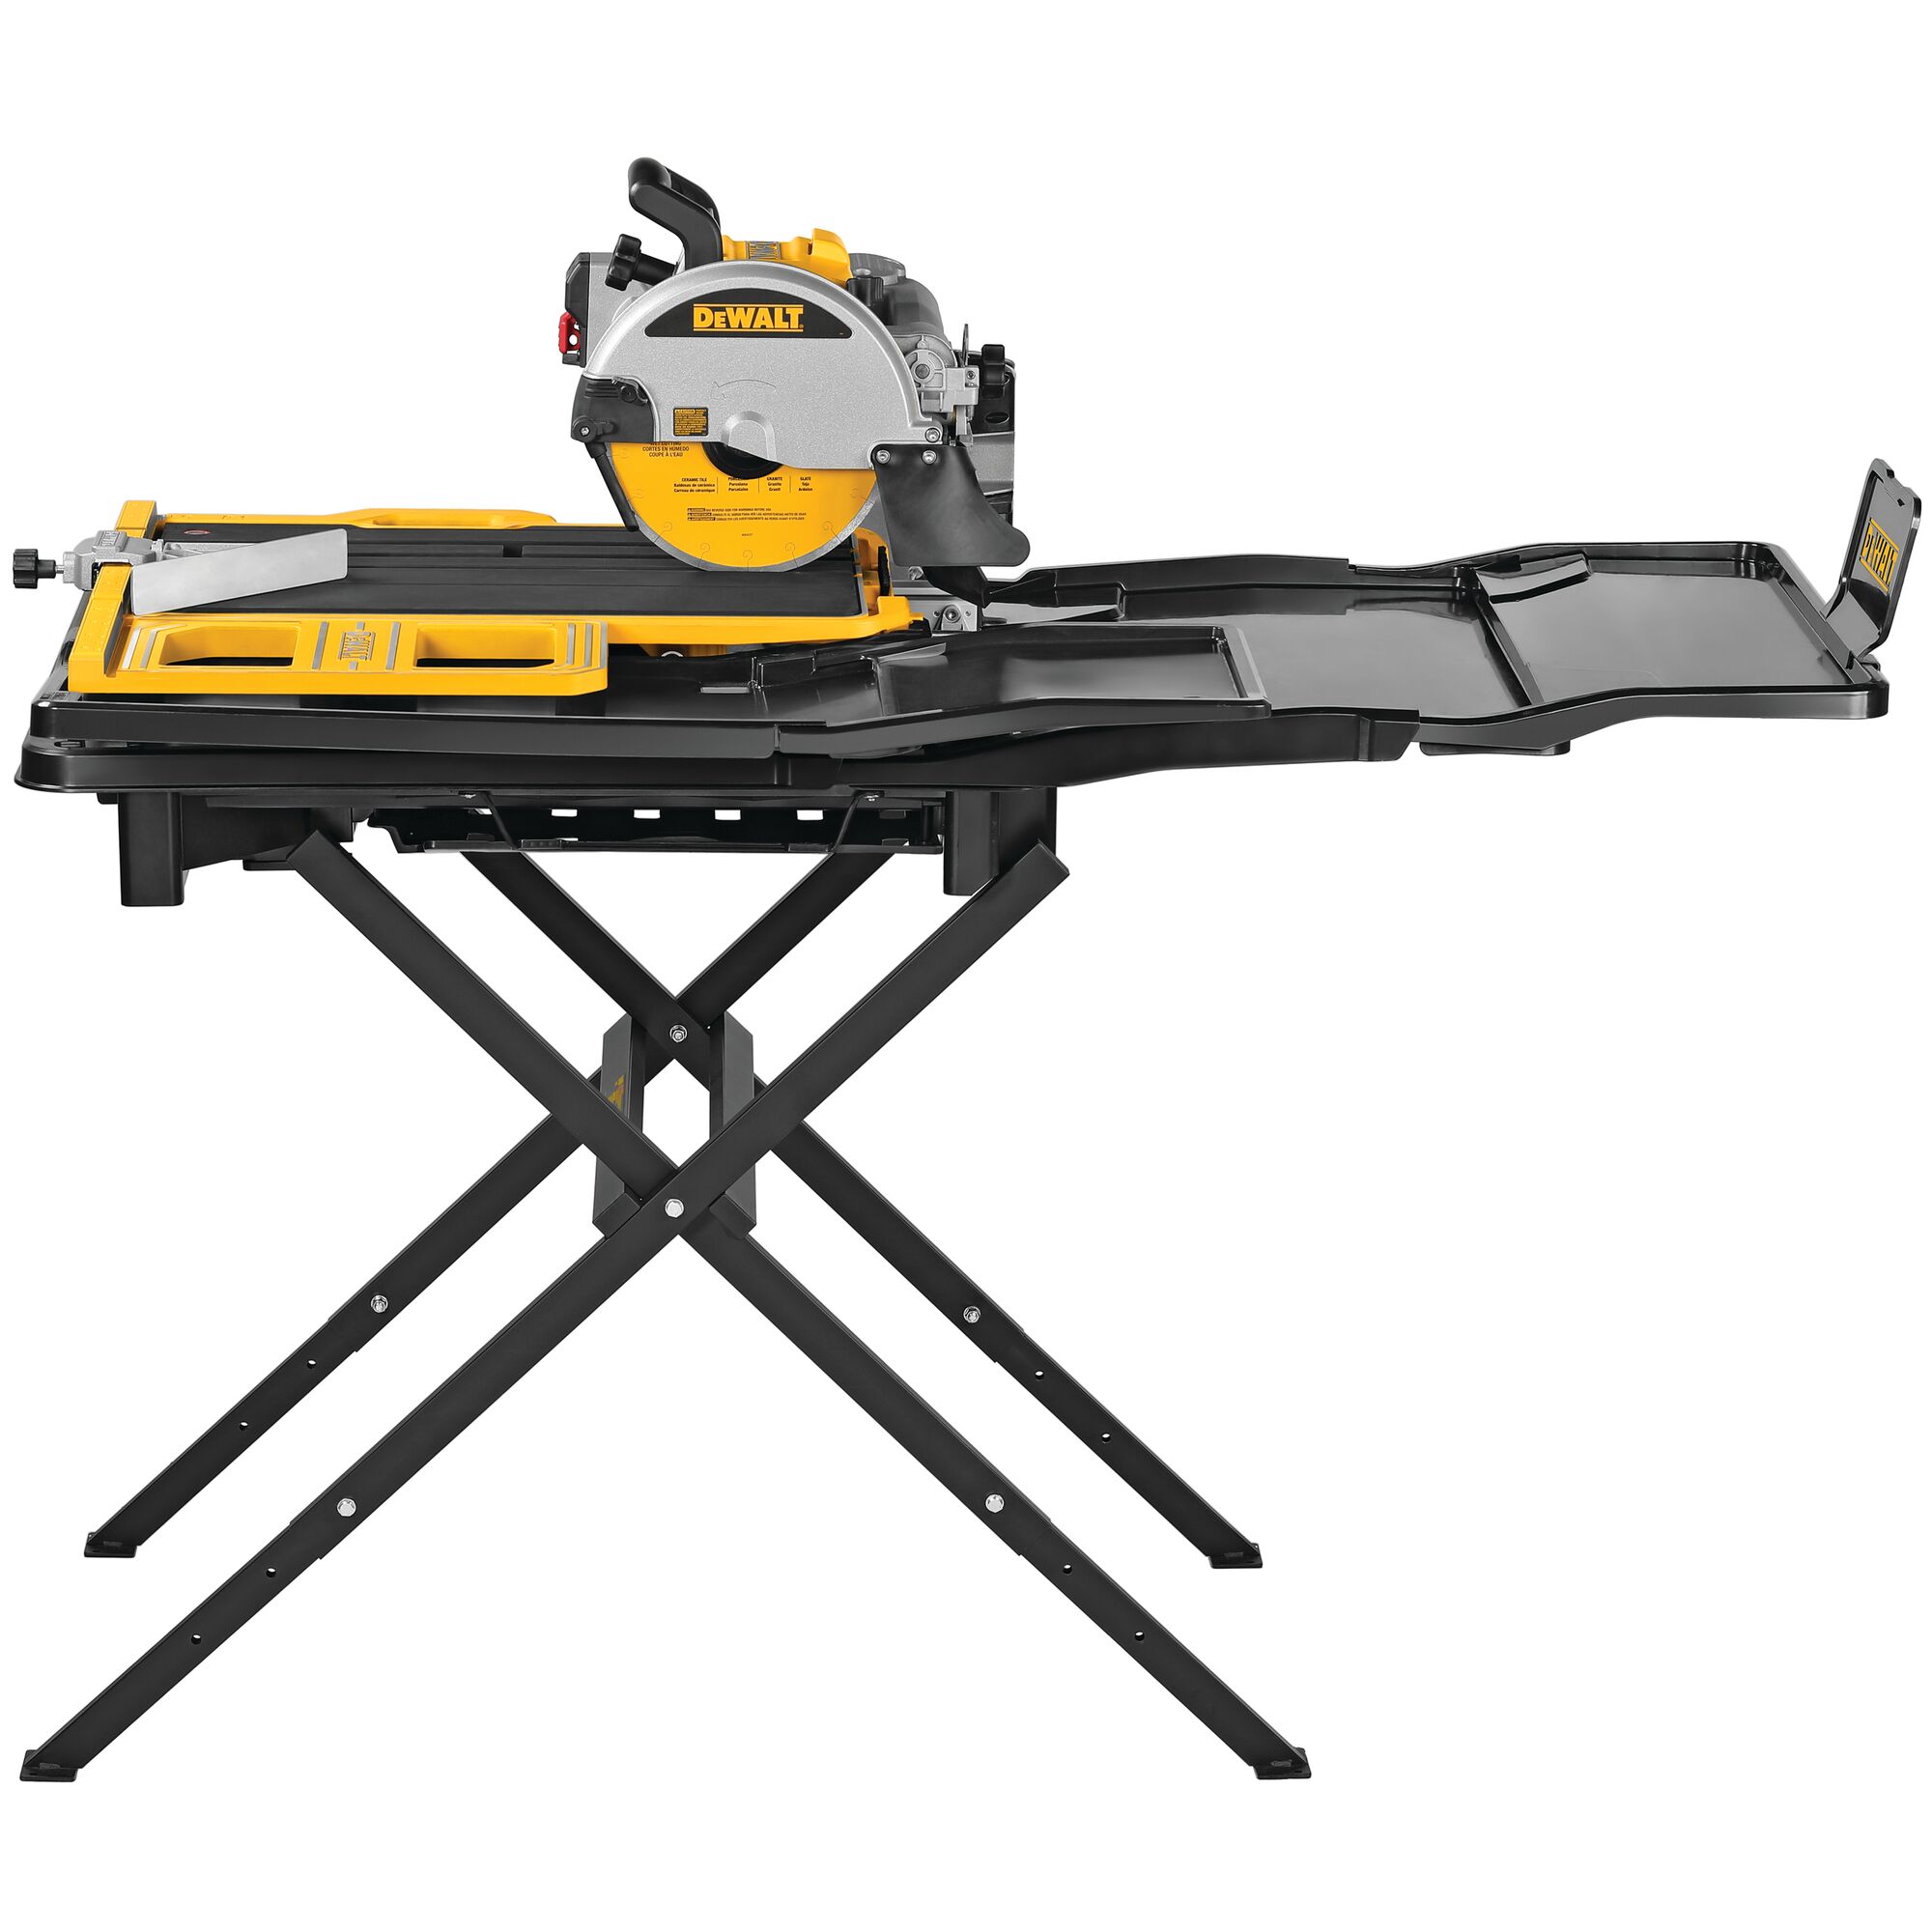
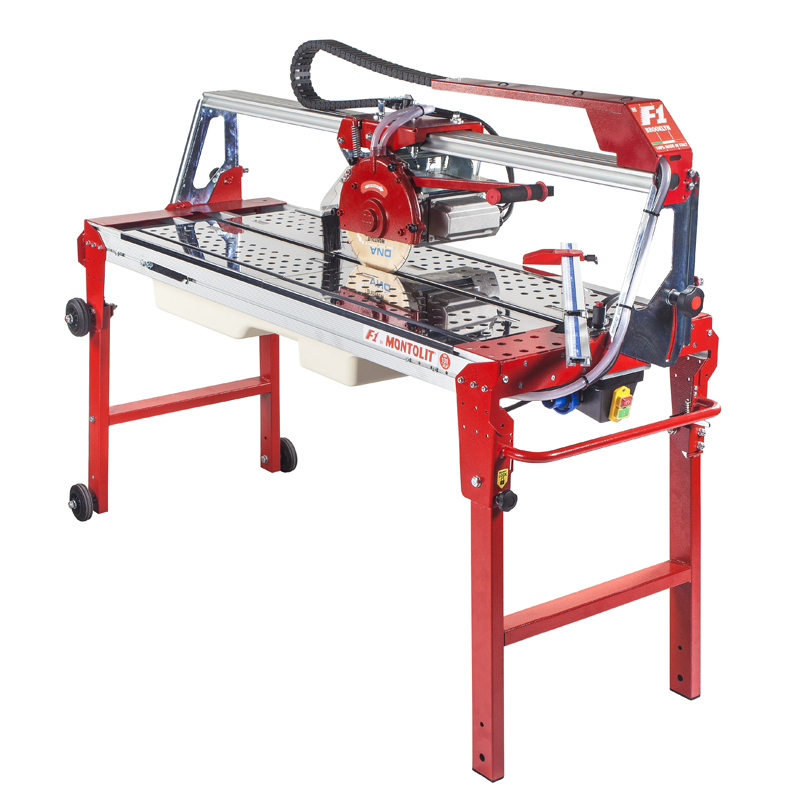
Wet tile saws are a DIY enthusiast’s best friend when it comes to slicing through tiles with precision and ease. These powerful tools use water to keep the diamond blade cool and to reduce dust during the cutting process. This makes them an ideal choice for cutting ceramic, porcelain, and stone tiles without chipping or breaking them.
When you’re tackling a tiling project, wet tile saws provide the accuracy you need to fit tiles perfectly around corners, fixtures, and other obstacles. They come with adjustable cutting guides, ensuring that every cut is straight and true. The built-in water pumps not only suppress dust but also improve the blade’s life by reducing friction.
For anyone who needs to make multiple cuts or work with dense or delicate tiles, wet tile saws are not just helpful; they’re essential. Unlike manual tile cutters or dry cutters, these saws deliver clean edges and consistent results, helping you achieve a professional finish on your tiling work. Indeed, wet tile saws are an invaluable asset for both professionals and hobbyists aiming for quality craftsmanship in their tiling projects.

Key Features to Look for in a Wet Tile Saw
When shopping for wet tile saws, it is crucial to know what features to consider. Here is a guide to the key features that make a wet tile saw outstanding:
- Diamond Blade: Look for a quality diamond blade that can handle various tile materials. The blade should be durable and provide precision cuts.
- Adjustable Cutting Guide: An adjustable guide is essential for making straight cuts. It helps in achieving accuracy for every tile you cut.
- Water Pump and Reservoir: A reliable water pump and a large reservoir help keep the blade cool and minimize dust. Ensure the system is easy to fill and maintain.
- Motor Power: The strength of the motor determines how effectively the saw can cut through hard or thick tiles. Aim for a powerful motor that does not bog down during cutting.
- Cutting Capacity: Consider the maximum tile size the saw can accommodate. This ensures the saw can handle the tiles used in your project.
- Blade Adjustability: You might need to make bevel cuts for a certain design. Check if the saw’s blade can tilt to make such cuts.
- Portability: If you plan to move your saw between job sites, find one that is lightweight and portable.
- Safety Features: Functions like safety locks or automatic shutoff can prevent accidents. Make sure your wet tile saw has robust safety features.
Investing in a wet tile saw with these features enhances the ease and quality of your tile cutting tasks. It also ensures you can work efficiently and safely, achieving that perfect finish in your tiling jobs.
Step-by-Step Guide to Using a Wet Tile Saw
Using wet tile saws can seem daunting at first, but with a proper step-by-step guide, you will be making precise cuts in no time. Here’s how to use these handy tools for your tiling project:
- Safety First: Before you start, ensure you have safety glasses, gloves, and ear protection. Safety should always be your top priority.
- Set Up the Saw: Position the wet tile saw on a stable, level surface. Fill the water reservoir according to the manufacturer’s instructions to ensure proper blade cooling.
- Check the Blade: Inspect the diamond blade for any signs of wear or damage. A sharp, undamaged blade is crucial for clean cuts.
- Adjust the Guide: Set the adjustable cutting guide to the width of the tile you are cutting. Make sure it’s secure to guarantee straight and precise cuts.
- Turn on the Saw: Power on the wet tile saw and let the water flow over the blade. The water should coat the blade completely to minimize dust and friction.
- Feed the Tile: Gently push the tile into the blade, using even pressure. Do not force the tile; let the blade do the work.
- Make the Cut: Glide the tile through the blade, keeping hands clear of the blade’s path. Ensure you have a firm grip on the tile throughout the cutting process.
- Inspect the Cut: After the cut is complete, turn off the saw and inspect the tile. Look for any rough edges that may need smoothing.
- Repeat as Needed: Change the adjustable guide for different cuts and repeat the process for all your tiles.
Following this guide ensures you use wet tile saws efficiently and effectively. Remember to take your time to achieve the best results possible for your tiling project.
Safety Precautions When Operating Wet Tile Saws
Safety is paramount when using any power tool, and wet tile saws are no exception. Here are some crucial safety precautions you should follow to operate your wet tile saw safely:
- Wear Appropriate Gear: Always wear safety glasses, gloves, and ear protection when operating the saw to protect yourself from flying debris and noise.
- Ensure a Stable Setup: Make sure the wet tile saw is on a stable, level surface before you start cutting. A shaky setup could lead to inaccurate cuts or even accidents.
- Inspect the Equipment: Before turning on the saw, check the diamond blade for damage or dullness. It’s essential for a clean, safe cut.
- Check Water Levels: Verify the water reservoir is adequately filled to keep the blade cool and reduce dust.
- Keep Hands Clear: Keep your hands away from the blade’s path at all times. Use push blocks or grips if provided with the saw.
- Feed Tile Slowly: Push the tile into the blade slowly and with even pressure. Rushing can cause the tile to crack or lead to uneven cuts.
- Power Safety: Make sure you have a clear path to the power switch or outlet in case you need to shut off the saw quickly in an emergency.
By following these safety measures, you can reduce the risk of injury and ensure that your wet tile saw operates effectively for precision cutting.
Maintenance and Care for Longevity of Your Wet Tile Saw
To keep your wet tile saw running efficiently for years, regular maintenance is key. Here’s what you need to do:
- Clean Regularly: After each use, clean the machine. Remove tile residue and grit.
- Inspect the Blade: Check the diamond blade often for wear signs or damage. Replace it if needed.
- Check the Water Pump: Clean the water pump and filter to ensure smooth operation.
- Wipe Down: Use a damp cloth to clean the entire saw. Prevent rust and corrosion.
- Lubricate Moving Parts: Apply lubrication to any sliding or moving parts. This helps parts move freely.
- Tighten Components: Regularly check and tighten bolts and screws. Loose parts can affect precision.
- Store Properly: When not in use, store your wet tile saw in a dry place. Protect it from the elements.
- Follow Manufacturer’s Guidelines: Always consult your saw’s manual for specific maintenance advice.
Following these simple steps will significantly extend the life of your wet tile saw, ensuring it remains a reliable tool for precise tile cutting. Remember, proper care leads to better performance and safety.
Common Mistakes to Avoid While Using Wet Tile Saws
While wet tile saws are invaluable for precision cutting, some common mistakes can hinder your results. Avoiding these errors ensures smoother operation and extends the lifespan of your equipment. Here are mistakes to keep an eye on:
- Ignoring Safety Gear: Skipping safety glasses, gloves, or ear protection can cause injury. Always gear up before you begin cutting.
- Poor Setup: Not securing the saw on a stable surface impacts cut quality. Ensure your setup is stable.
- Using a Damaged Blade: A worn or chipped blade can spoil your tiles. Check your blade and replace it if necessary.
- Cutting Too Fast: Rushing the cutting process can lead to chipped tiles. Cut slowly and let the blade work.
- Forcing the Tile: Pushing the tile too hard against the blade may cause it to break. Apply steady, even pressure instead.
- Neglecting Water Levels: Low water levels increase friction and dust. Keep the reservoir adequately filled.
- Skipping Measurements: Not measuring or adjusting the guide for each cut can lead to inaccuracies. Always measure for precision.
- Neglecting Maintenance: Failing to clean and maintain your wet tile saw causes issues. Clean and maintain it after each use.
By being mindful of these common mistakes when using wet tile saws, you not only enhance safety but also improve the quality of your work. Keep these pointers in hand, and you’ll achieve the professional results you’re aiming for with your tiling projects.

Tips for Achieving the Perfect Cut
Achieving the perfect cut with wet tile saws involves precision and patience. Here are some tips to help you get the cleanest, most accurate cuts for your tiling projects.
- Measure Twice, Cut Once: Measure your tiles carefully before making any cuts. Accurate measurements prevent waste and ensure a snug fit.
- Use a Sharp Blade: A sharp diamond blade is key for a smooth, chip-free cut. Replace dull blades to maintain cutting quality.
- Maintain Even Pressure: Apply consistent pressure when feeding the tile into the saw. This prevents chipping and ensures a straight cut.
- Don’t Rush the Cut: Move the tile through the blade slowly. A gentle and steady pace yields the best results.
- Keep the Saw Stable: A steady saw reduces vibrations that can lead to uneven cuts. Check the setup before you start cutting.
- Use Clamps for Small Tiles: For smaller tiles, use clamps or a jig to hold them in place. It provides better control and safety.
- Overcut Slightly: When dealing with complex cuts, overcut just a bit at the edges. Then, snap off the excess for a clean finish.
- Smooth the Edges: After cutting, smoothen any rough edges with a rubbing stone or sandpaper. It gives the tile a professional look.
By following these straightforward tips, you’ll make optimal use of your wet tile saws and achieve the perfect cut every time. Precision and care are the hallmarks of excellent tiling work, ensuring your projects look seamless and beautiful.
Advantages of Using Wet Tile Saws Over Dry Cutters
Wet tile saws offer several advantages over dry cutters for those aiming for precise cuts in tile projects. Here’s why you should consider wet tile saws your go-to tool:
- Cooling Water Jet: The water in wet tile saws keeps the blade cool. This prevents overheating and prolongs the blade’s life.
- Reduced Dust: The spray of water drastically cuts down dust production. This means a cleaner work area and less mess.
- Cleaner Cuts: Due to water lubrication, wet tile saws yield smoother edges. This leads to cleaner, more professional-looking cuts.
- Less Chipping: The wet cutting process minimizes tile chipping. Your tiles will look better and fit more precisely.
- Versatility: Wet tile saws can cut through dense and delicate tiles alike. This makes them suitable for a variety of tiling projects.
- Better for Large Projects: If you have many tiles to cut, a wet tile saw is faster and more efficient.
- Safety: With lower dust levels and cool blades, wet tile saws are safer to use. Plus, they usually come with extra safety features.
By understanding these advantages, you can see why wet tile saws are the preferred choice for professionals and DIYers alike. They make the tile cutting process easier, safer, and provide excellent results.