The Ultimate Guide to Christmas Light Repair Tools
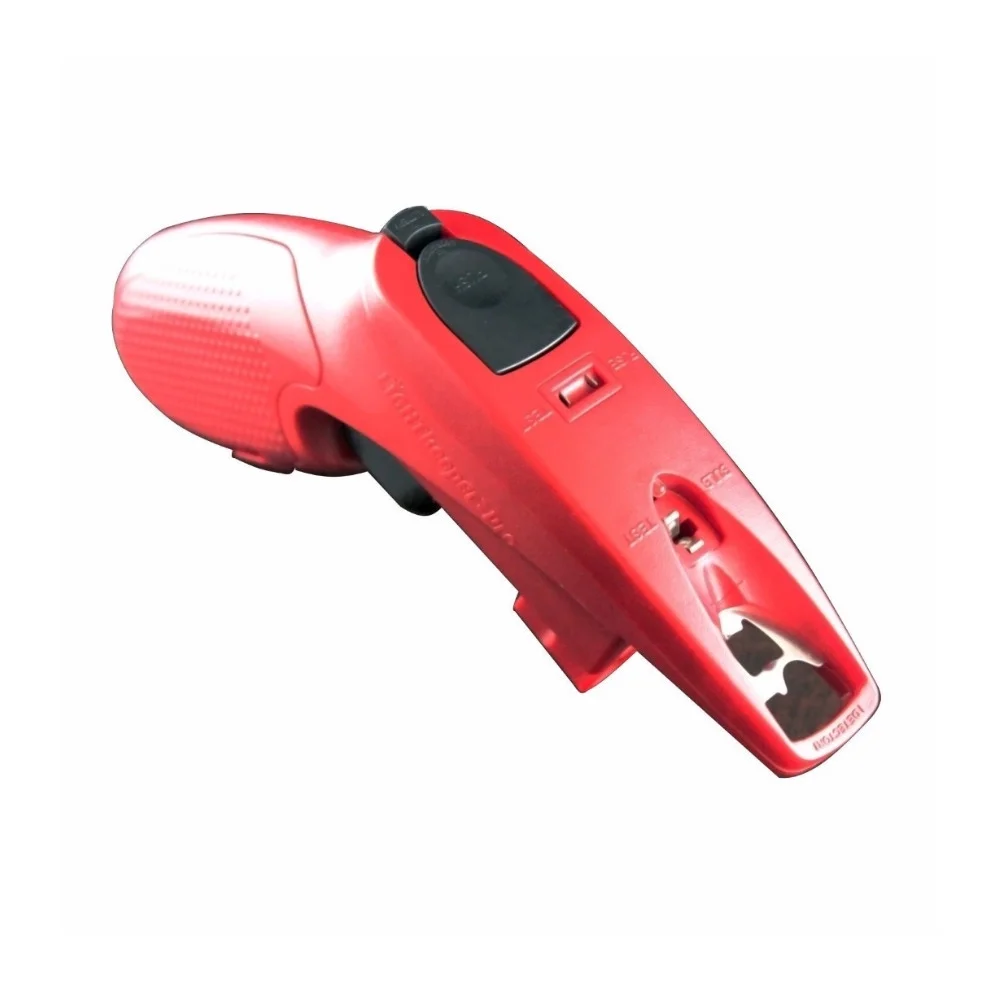
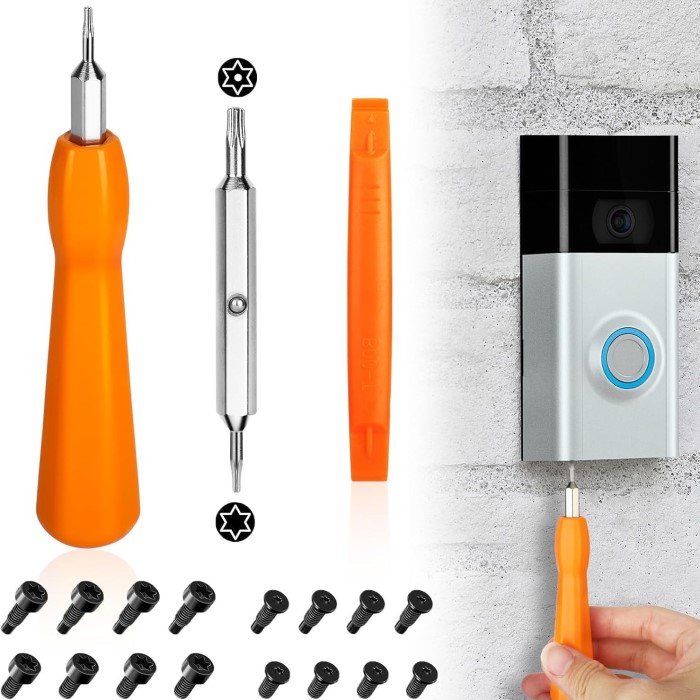
Every holiday season, Christmas lights illuminate homes and neighborhoods. They create a magical atmosphere filled with joy and warmth. However, nothing is more frustrating than a strand of lights that won’t turn on. A faulty string can dampen the festive mood. Fortunately, there are effective solutions for Christmas light repair tools . The right tools make all the difference. In this guide, discover essential tools that can keep holiday lights shining bright.
Understanding Common Issues
Before diving into the world of repair tools, understanding common issues is crucial. Lights can fail for various reasons. Often, a single bulb may cause an entire string to go dark. Also, damaged wires can lead to shorts. In some cases, connections may loosen over time. Identifying these problems is the first step toward an effective repair.
The common symptoms of a malfunctioning light strand include flickering lights, dead segments, or dim lighting. Often, these issues can stem from a bad bulb. It’s vital to check each bulb for damage. A simple visual inspection can save hours of trouble. Moreover, unplugging and examining the entire strand is important. This approach allows for better visibility and access to all components.
Additionally, weather can play a significant role in the lifespan of holiday lights. Rain, snow, and extreme temperatures can lead to wear and tear. Therefore, protecting lights with appropriate storage after the season is essential. Taking these preventative measures can significantly extend the life of Christmas lights. Ultimately, understanding these common issues sets the foundation for effective repair.
Essential Tools for Christmas Light Repair
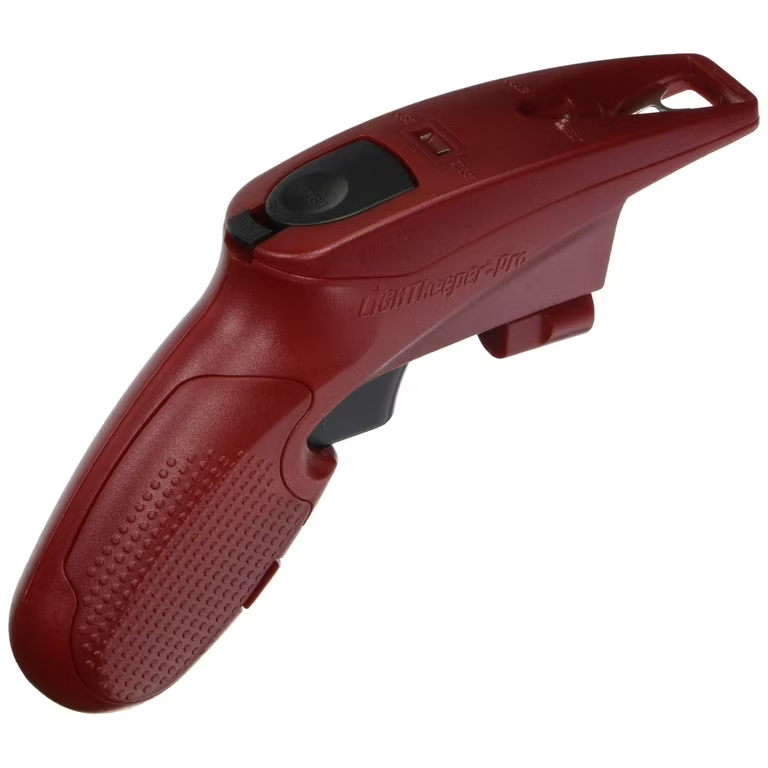
Armed with knowledge, it’s time to gather essential tools. Tools play an important role in quickly and efficiently repairing lights. A basic toolkit can streamline the repair process and minimize frustration. First on the list is a multimeter. This tool measures voltage, current, and resistance. A multimeter can help diagnose electrical problems in light strands.
Next, a set of replacement bulbs is crucial. Ensure that the bulbs match the wattage and type of the original bulbs. Having the right bulbs on hand saves time and effort during repairs. Often, holiday light sets use different types of bulbs, such as incandescent or LED. Therefore, understanding these types will help with the selection process.
In addition to bulbs, a wire stripper can come in handy. This tool removes insulation from wires, making repairs easier. Separating damaged wires can restore connectivity. Moreover, electrical tape is essential for securing repairs. It can protect repairs from moisture and dust.
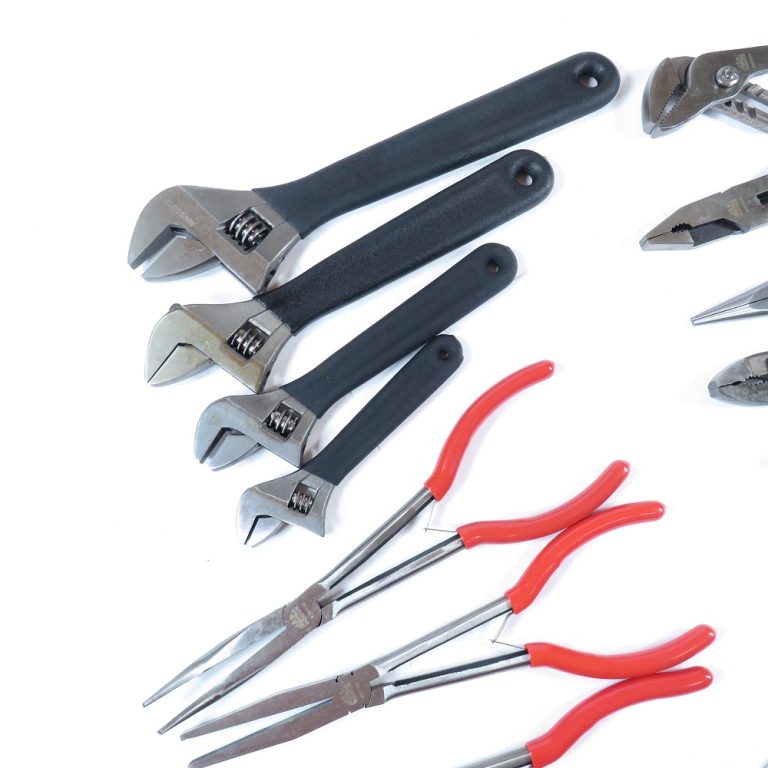
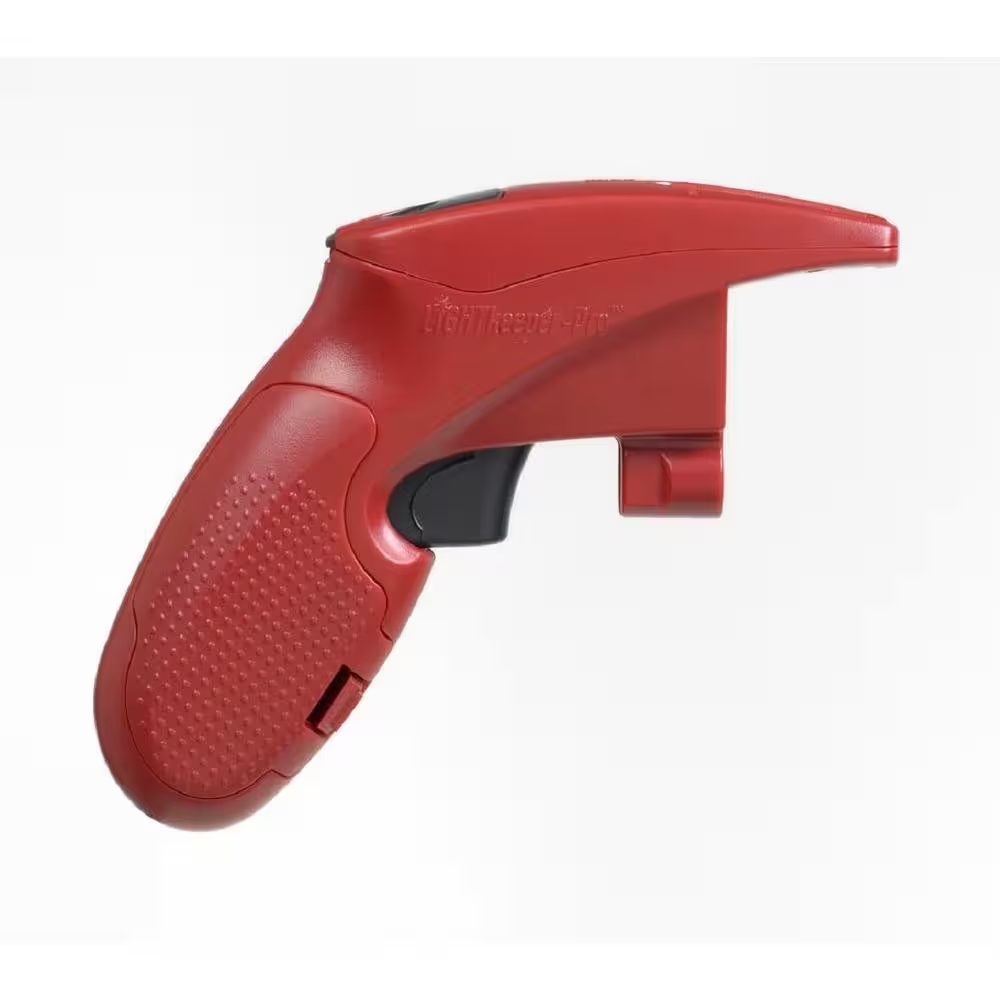
Don’t overlook the importance of a needle-nose pliers. This tool can help manipulate wires and tighten connections. Additionally, a light tester can identify faulty bulbs quickly. Using these tools in tandem can save time and ensure that all devices are functioning.
Testing Your Lights
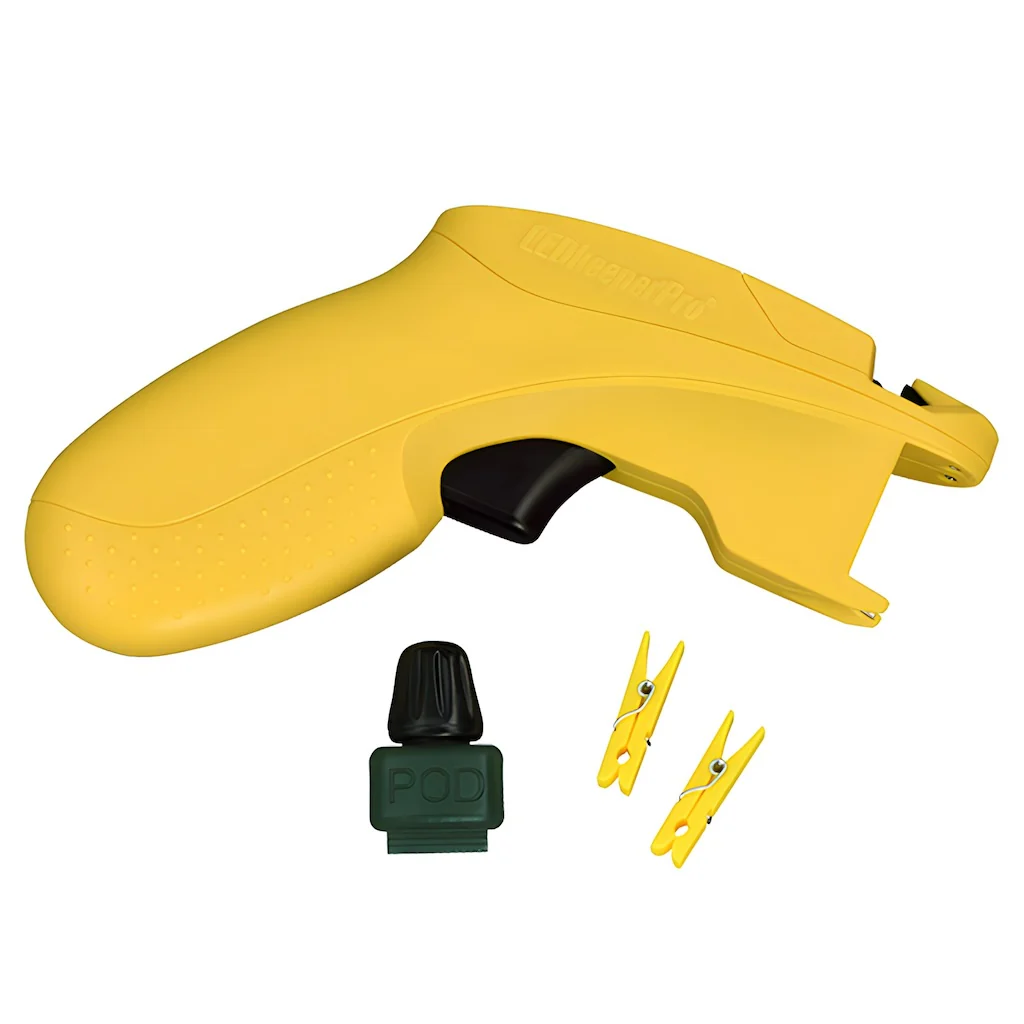
Now that the necessary tools are gathered, testing lights becomes essential. Plug in the light strand and check for any issues. A light tester simplifies this process. If the lights flicker or fail to turn on, further inspection is needed. It’s important to check each section of the strand methodically.
Begin by inspecting the first bulb. A faulty bulb often leads to an entire segment going dark. Replace dead bulbs first. Next, match the replacement bulbs to the existing ones. Consistency in wattage and design is key to effective repairs. After replacing faulty bulbs, re-test the lights.
If the problem persists, check for damaged wires. Use a multimeter to check the continuity of the wires. It ensures that there is no break in the circuit. If breaks are found, use a wire stripper to detach damaged sections.
Repairing the wire connection with electrical tape ensures a safe and secure fix. Once all repairs are complete, plug in the lights once more. The goal is to achieve full illumination across the entire strand. Following these steps will help identify and rectify issues efficiently.
Maintaining Your Christmas Lights
Proper maintenance is key to ensuring longevity. After the holiday season, careful storage is vital. To avoid breakage, wrap lights gently. Use a spool or a dedicated storage box for convenience. Avoid tangling the wires, as it increases the risk of damage.
Additionally, consider checking lights annually before the holiday season. A quick inspection this way can catch minor issues early. Replace any damaged bulbs or frayed wires, ensuring the strands are safe to use. Furthermore, testing lights before decorating saves time in the long run.
While in storage, keep lights in a cool, dry place. Exposure to moisture can corrode wires and bulbs over time. Also, avoid leaving lights outside year-round. Even weatherproofed lights can deteriorate faster when exposed to the elements.
Creating a checklist for maintenance can streamline the process. Documenting which lights worked and which didn’t helps when pulling them out for the next season. Following this systematic approach reduces the likelihood of surprises when it’s time to decorate.

Troubleshooting Tips
When facing persistent issues with Christmas lights, troubleshooting becomes essential. First, ensure that the power source is functioning. Plugging the lights into a different outlet reveals any power supply problems. Moreover, checking for tripped circuit breakers is also necessary.
Next, review every connection point in the light strand. Loose connections cause flickering or malfunctioning lights. Each bulb should fit snugly into its socket. For this reason, pressing firmly can resolve connectivity issues.
If a specific section remains dark, analyze the wiring. Measure continuity using a multimeter. If the wire shows no current, replacement may be necessary. In some cases, cutting out the faulty section and splicing in a new piece is the best approach.
Lastly, keep a troubleshooting guide handy. Documenting past experiences simplifies repairs for future issues. Using best practices will streamline future repairs and reduce stress. A proactive approach ensures that lights remain a source of joy each year.
Upgrading Christmas Lights
In today’s market, numerous upgraded options exist for Christmas lights. LED lights are a popular choice, offering countless benefits. These lights consume less energy, resulting in lower electricity bills. Additionally, LED lights have a longer lifespan compared to traditional bulbs.
Moreover, they come in various colors and styles, enhancing creative display options. Choosing customizable lights that sync with music adds a festive flair to holiday celebrations. Furthermore, smart technology integrates seamlessly for effortless control via smartphones.
Despite the initial investment cost, the long-term savings make LEDs appealing. Durable and weather-resistant options reduce the need for frequent replacements. Families can embrace the holiday spirit without worrying about light failures.
Ultimately, upgrading Christmas lights transforms holiday décor into a twinkling extravaganza. Choosing high-quality lights ensures reliable performance year after year. Transitioning to energy-efficient options is both eco-friendly and wallet-friendly.
Preventive Measures for Longer Lifespan
Preventing problems before they occur is ideal for extending the lifespan of Christmas lights. Proper storage post-holiday season is critical. Instead of tossing lights in a box, consider winding them carefully around a spool or using wire hangers. This practice prevents tangling and damage during storage.
Cleaning the light strings before storage can also be beneficial. Dust and dirt build-up can affect performance once lights are plugged in again. Use a soft brush or cloth to clean the bulbs and wires gently. Additionally, inspecting bulbs and wires at the end of each season allows for early detection of issues.
When purchasing new lights, invest in higher-quality products. Quality lights usually come with better warranties and durability. Additionally, following manufacturer guidelines for installation can prevent many common issues. Taking these preventive measures will save time and effort in the long run.

When to Seek Professional Help
While many repairs can be handled at home, some situations may require professional assistance. If electrical knowledge is minimal, it may be wise to consult an electrician. Working with high voltages can be dangerous without proper expertise. An electrician can safely address complicated issues that require advanced skills.
Additionally, if repairs involve complex wiring systems, professional assessment is advisable. Christmas lights can sometimes be part of larger electrical systems, so expert evaluation is crucial. Moreover, seasonal lighting displays may have unique demands that necessitate professional installation.
Finally, if repairs take too long or seem overwhelming, don’t hesitate to ask for help. Professional services can ensure the job is done correctly and safely. Investing in expert help can prevent further damage and promote a beautiful holiday season.
Conclusion
In summary, Christmas light repair tools are essential for a festive season. Understanding common issues leads to a more effective troubleshooting process. Gathering the right tools ensures quick and efficient repairs, preventing holiday stress.
Regular maintenance and careful storage extend the life of festive lights. Troubleshooting tips simplify the repair process, making it less daunting. Lastly, exploring upgraded options enhances the overall holiday experience.
With the right knowledge and tools, holiday lights can become a source of enjoyment each year. Creating a dazzling display is a delight for families and neighbors alike. Keep the spirit of the season alive with well-maintained, beautifully lit homes. Following these guidelines will ensure that Christmas lights shine bright for many years to come.
