Introduction: The Power of Sliding Miter Saws
Sliding miter saws revolutionize woodworking and construction projects with their versatility and precision. These powerful tools combine the functionality of a standard miter saw with the added benefit of a sliding mechanism. This feature allows for wider cuts and greater flexibility in handling various materials. Woodworkers, carpenters, and DIY enthusiasts alike value sliding miter saws for their ability to make accurate crosscuts, miter cuts, and bevel cuts with ease.
The sliding action extends the blade’s reach, enabling users to tackle larger workpieces that would otherwise require multiple passes or different equipment. As a result, sliding miter saws have become indispensable in many workshops and job sites. They streamline operations, improve efficiency, and enhance the overall quality of woodworking projects. Furthermore, these saws offer a level of precision that is difficult to achieve with manual cutting methods, making them essential for tasks that demand exacting measurements and clean cuts.
The Anatomy of a Sliding Miter Saw
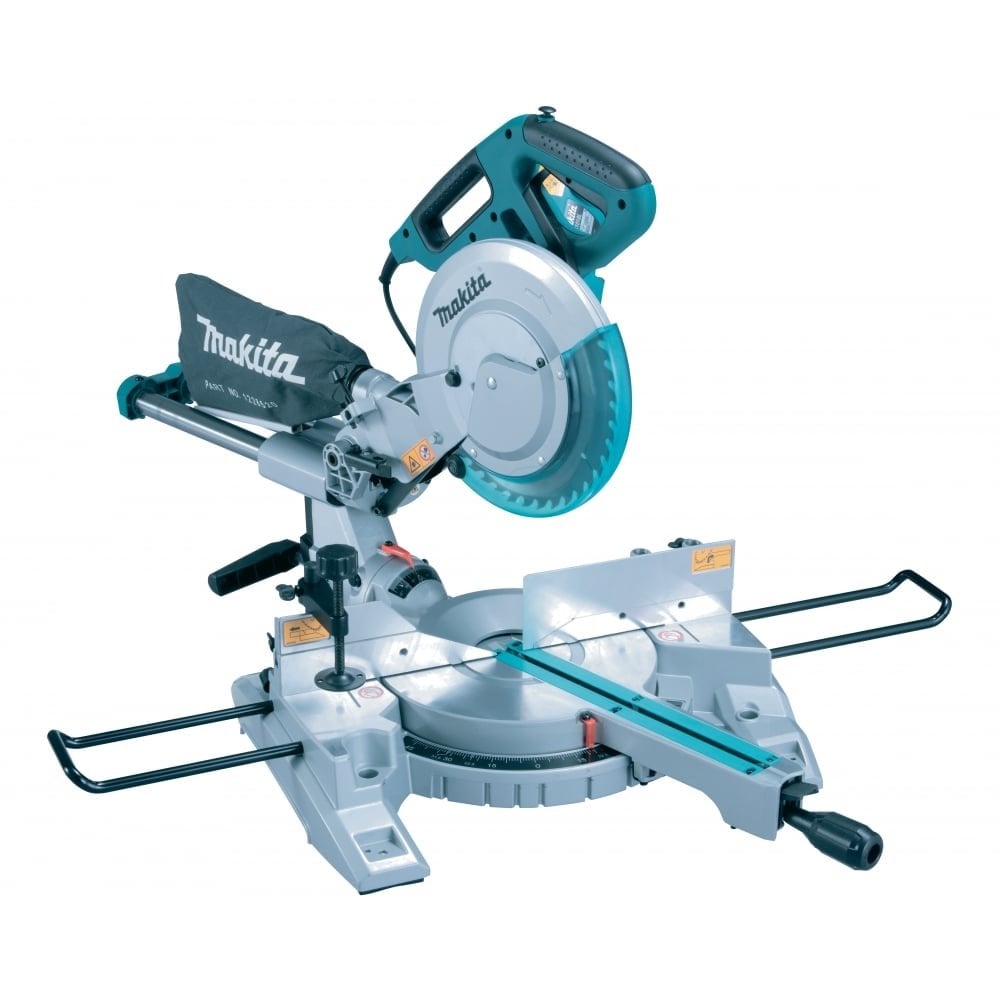
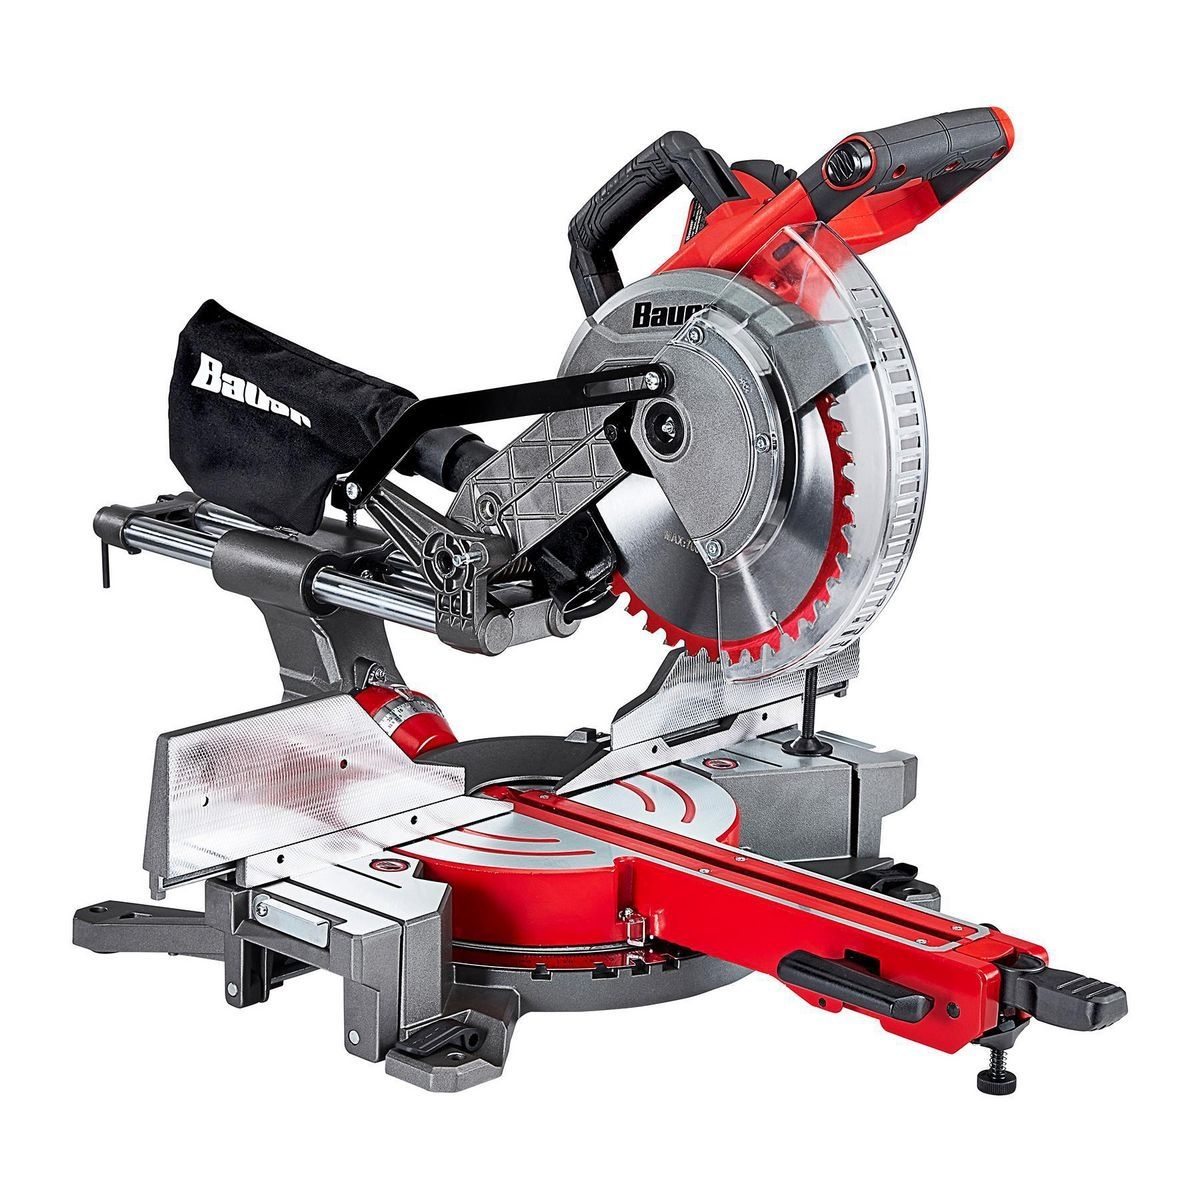
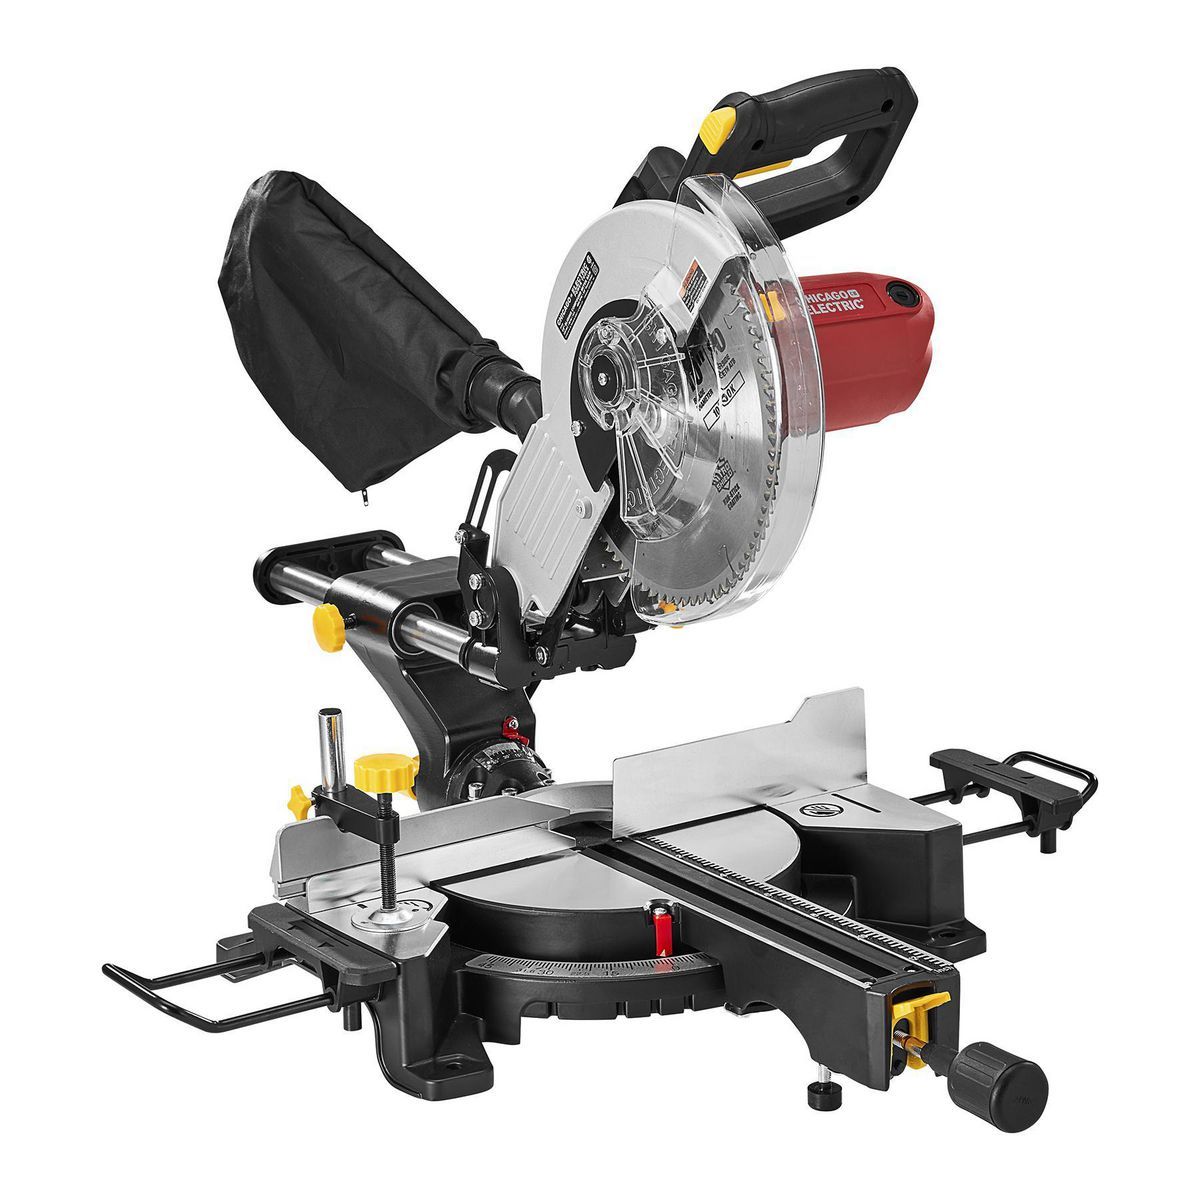
Understanding the components of a sliding miter saw helps users maximize its potential. The saw consists of several key parts working together to deliver accurate cuts. At the heart of the tool lies the powerful motor, which drives the circular blade. The blade, typically ranging from 10 to 12 inches in diameter, attaches to an arm that both pivots and slides. This arm connects to the base, which provides stability and houses the miter gauge for angled cuts. The sliding mechanism, usually comprised of rails or tubes, allows the blade to move forward and backward.
Additionally, most models feature a bevel system that tilts the blade for angled cuts in a different plane. Safety features include blade guards, electric brakes, and dust collection systems. The saw’s table, often equipped with extension wings, supports the workpiece during cutting operations. Fences help align materials accurately, while laser guides on some models assist in visualizing cut lines. Together, these components create a versatile and precise cutting machine capable of handling a wide range of woodworking tasks.
Types of Cuts: Expanding Your Woodworking Repertoire
Sliding miter saws excel at performing various cuts, each serving a specific purpose in woodworking and construction. Crosscuts, the most basic type, involve cutting straight across the grain of the wood. These cuts prove essential for trimming boards to length or creating square ends. Miter cuts angle across the face of the board, commonly used for creating picture frames, crown molding, and other joinery that requires angled connections. Bevel cuts tilt the blade to cut at an angle through the thickness of the material, often employed in advanced trim work and for creating sloped edges.
Compound cuts combine both miter and bevel angles, allowing for complex joinery in crown molding and other intricate woodworking projects. The sliding feature of these saws extends their capabilities, enabling longer cuts on wider boards. This versatility makes sliding miter saws particularly valuable for cutting wide baseboards, trimming large panels, and working with broader pieces of lumber. By mastering these various cut types, woodworkers can tackle a diverse range of projects with a single tool, from simple home repairs to elaborate custom furniture construction.

Choosing the Right Sliding Miter Saw for Your Needs
Selecting the appropriate sliding miter saw depends on several factors tailored to individual requirements. Blade size plays a crucial role in determining the saw’s cutting capacity. 10-inch blades suit most general woodworking tasks, while 12-inch blades offer greater cutting width and depth. Consider the types of projects typically undertaken when deciding between these sizes. Motor power affects the saw’s ability to cut through dense materials smoothly. Look for motors with at least 15 amps for optimal performance. The sliding mechanism’s quality significantly impacts the saw’s accuracy and longevity. Opt for models with sturdy, smooth-operating rails or tubes.
Bevel capacities vary between models, with some offering single bevel (tilting in one direction) and others dual bevel (tilting both left and right). Dual bevel saws provide more versatility but often come at a higher price point. Additional features like laser guides, LED cut lines, and dust collection systems enhance usability and cleanliness. Portability may be a concern for those who need to transport the saw between job sites. In such cases, consider the saw’s weight and the availability of a wheeled stand. By carefully evaluating these factors and matching them to specific needs, users can select a sliding miter saw that will serve them well for years to come.
Setting Up Your Sliding Miter Saw for Optimal Performance
Proper setup ensures the sliding miter saw operates at peak performance, delivering accurate cuts consistently. Begin by placing the saw on a stable, level surface. For permanent workshop installations, consider bolting the saw to a dedicated stand or workbench to minimize vibration and movement during use. Adjust the saw’s fences to ensure they’re perfectly square to the blade, using a carpenter’s square for precision. Check and calibrate the miter and bevel scales to guarantee accurate angle readings. Many saws come with factory presets for common angles, but verifying these settings helps maintain precision over time.
Install the appropriate blade for the intended cutting tasks, ensuring it’s sharp and suited to the material being cut. Familiarize yourself with the saw’s safety features, including the blade guard and electric brake, and ensure they’re functioning correctly. Set up a dust collection system to keep the work area clean and improve visibility during cuts. If the saw includes laser guides or LED cut lines, align these features for accurate cut marking. Regularly inspect and tighten all bolts and adjustments to prevent any loosening that could affect cut quality. By meticulously setting up the sliding miter saw, users create an efficient and safe working environment that promotes precise, high-quality results in all their woodworking endeavors.
Mastering Techniques for Precision Cuts
Achieving precision with a sliding miter saw requires mastering specific techniques. Start by marking cut lines clearly on the workpiece using a sharp pencil or marking knife for enhanced accuracy. When making cuts, allow the blade to reach full speed before contacting the material. This practice prevents the blade from binding or creating rough cuts. Apply steady, even pressure as the blade moves through the workpiece, letting the saw do the work without forcing it. For longer cuts utilizing the sliding function, pull the saw towards you to initiate the cut, then push it back through the material to complete it.
This technique, known as the “pull cut,” provides better control and reduces the risk of kickback. When making repetitive cuts, use stop blocks or the saw’s built-in positive stops to ensure consistency. For bevel cuts, support longer boards to prevent them from sagging and affecting the angle accuracy. Always keep hands well away from the blade, using clamps or hold-downs to secure the workpiece when necessary. Practice making test cuts on scrap material to fine-tune techniques and saw settings before working on the final piece. By consistently applying these techniques, woodworkers can achieve professional-grade results, elevating the quality of their projects and ensuring precise, clean cuts every time.
Safety First: Protecting Yourself While Using a Sliding Miter Saw
Safety should always be the top priority when operating a sliding miter saw. Start by wearing appropriate personal protective equipment, including safety glasses to shield eyes from flying debris and hearing protection to guard against the saw’s loud operation. Avoid loose clothing or jewelry that could get caught in the moving parts. Always keep hands at least 6 inches away from the blade, using push sticks or hold-downs for cuts that require positioning material close to the blade. Never reach across the blade while it’s spinning, even if the blade guard is in place. Ensure the workpiece is firmly supported against the fence and table before making any cuts.
Be mindful of the blade guard, allowing it to function properly and never pinning it open. Disconnect the saw from its power source when changing blades or performing maintenance. Keep the work area clean and free from clutter to prevent tripping hazards. When making narrow cuts, use a zero-clearance insert to prevent small pieces from falling into the blade opening. Always wait for the blade to come to a complete stop before lifting it from the workpiece or reaching for cut pieces. By consistently following these safety practices, users significantly reduce the risk of accidents and create a safer working environment for themselves and others in the vicinity.
Maintaining Your Sliding Miter Saw for Longevity
Regular maintenance keeps a sliding miter saw performing at its best and extends its lifespan. Start with routine cleaning after each use, removing sawdust and debris from all parts of the saw. Pay special attention to the sliding mechanism, keeping the rails or tubes clean and lightly lubricated to ensure smooth operation. Inspect the power cord regularly for any signs of wear or damage, replacing it if necessary. Check the blade for sharpness and signs of wear, replacing it when it becomes dull or damaged. A sharp blade not only produces cleaner cuts but also puts less strain on the motor. Periodically tighten all bolts and adjustments to prevent loosening during use.
Lubricate moving parts according to the manufacturer’s recommendations to maintain smooth operation and prevent rust. Inspect the blade guard mechanism regularly, ensuring it moves freely and closes fully when the saw is at rest. Check the accuracy of miter and bevel settings periodically, recalibrating if necessary to maintain precision. Store the saw in a dry place to prevent rust and corrosion, especially if it’s not used frequently. Consider having the saw professionally serviced annually, especially if it sees heavy use. By following these maintenance practices, users can ensure their sliding miter saw remains a reliable and accurate tool for years to come, providing consistent performance across a wide range of woodworking projects.
Advanced Applications: Expanding Your Sliding Miter Saw’s Capabilities
While sliding miter saws excel at basic cuts, they also offer potential for advanced applications. Crown molding installation becomes more manageable with a sliding miter saw, especially when using a specialized crown molding jig. These jigs help position the molding at the correct angle for precise compound cuts. Creating custom picture frames is another advanced application, requiring accurate miter cuts for seamless corners. Some woodworkers use their sliding miter saws for cutting dadoes and rabbets by making multiple passes, though this technique requires careful setup and practice. Building outdoor furniture often involves angled cuts on large pieces of lumber, a task well-suited to the sliding miter saw’s capabilities.
For more intricate work, some users create jigs to cut small pieces safely, expanding the saw’s versatility to include tasks typically reserved for smaller tools. Timber framing enthusiasts may use large sliding compound miter saws for cutting joints in heavy beams. In finish carpentry, these saws prove invaluable for cutting baseboards, chair rails, and window casings with precision. Some woodworkers even use their sliding miter saws for cutting non-wood materials like plastics or soft metals, with the appropriate blades. By exploring these advanced applications, users can fully leverage their sliding miter saw’s capabilities, tackling a wider range of projects and pushing the boundaries of their woodworking skills.
Conclusion: Embracing the Versatility of Sliding Miter Saws
Sliding miter saws stand as indispensable tools in the world of woodworking and construction, offering a unique combination of precision, versatility, and efficiency. These powerful machines enable users to tackle a wide array of cutting tasks with ease, from simple crosscuts to complex compound angles. The sliding feature expands cutting capacities, allowing for work on larger materials that would challenge standard miter saws. As woodworkers and DIY enthusiasts continue to push the boundaries of their craft, sliding miter saws evolve to meet these demands, incorporating advanced features like laser guides, improved dust collection, and enhanced safety mechanisms.
By mastering the use of a sliding miter saw, craftsmen open up new possibilities in their work, achieving professional-grade results across various projects. Whether building custom furniture, installing trim, or framing a structure, the sliding miter saw proves its worth time and again. As with any tool, the key to success lies in understanding its capabilities, maintaining it properly, and using it safely. With practice and dedication, the sliding miter saw becomes not just a tool, but an extension of the craftsman’s skill and vision, enabling the creation of beautiful, precise work that stands the test of time.